Neutral, vintage-inspired, and budget-friendly holiday decorating has become one of my favorite ways to personalize my home for the season. In today’s post, I’m walking you through 6 DIY Christmas home decor ideas featured in my latest YouTube video. If you love neutral Christmas decor with pops of deep red, vintage ornaments, cozy textures, and simple handmade details, you’ll find so much inspiration here.
You can watch the full decorate-and-DIY video on YouTube here:
6 DIY Christmas Home Decor Ideas
These projects are perfect whether your holiday style leans organic, cottage-inspired, classic, Scandinavian, or vintage Christmas. Each one can be tailored to your colour palette and budget, all while adding charm and warmth to your home.
DIY Yarn Christmas Trees
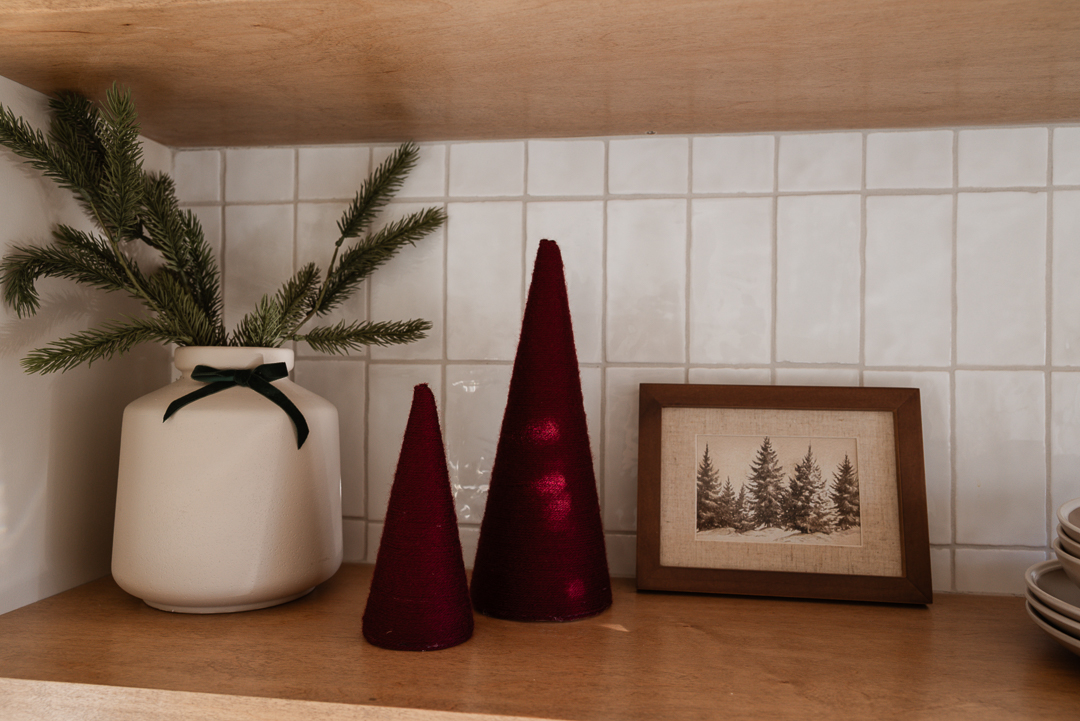
These yarn Christmas trees are one of the easiest holiday crafts to make, and they’ve become a staple in my decor year after year. I’ve made countless versions for my own home and even sold them at Christmas craft fairs. All you need are styrofoam cones, yarn, and a glue gun.
Start at the top of the cone with a tiny dab of glue and begin wrapping your yarn tightly so none of the white styrofoam peeks through. You can create a clean, uniform look or make things more textured and organic by overlapping the yarn as you go.
A few tips:
• Keep your glue gun on low so it doesn’t melt the styrofoam.
• Work in small sections and always use less glue than you think.
• Try different materials: twine, green yarn, fluffy white yarn, or—like I did this year—deep red yarn for a warm, classic look.
These DIY Christmas home decor ideas add so much charm to shelves, coffee tables, entryways, and mantels, and they’re incredibly budget-friendly.
Check out my full tutorial blog post here: HOW TO MAKE MODERN YARN CHRISTMAS TREE SETS DIY
diy etsy christmas art prints
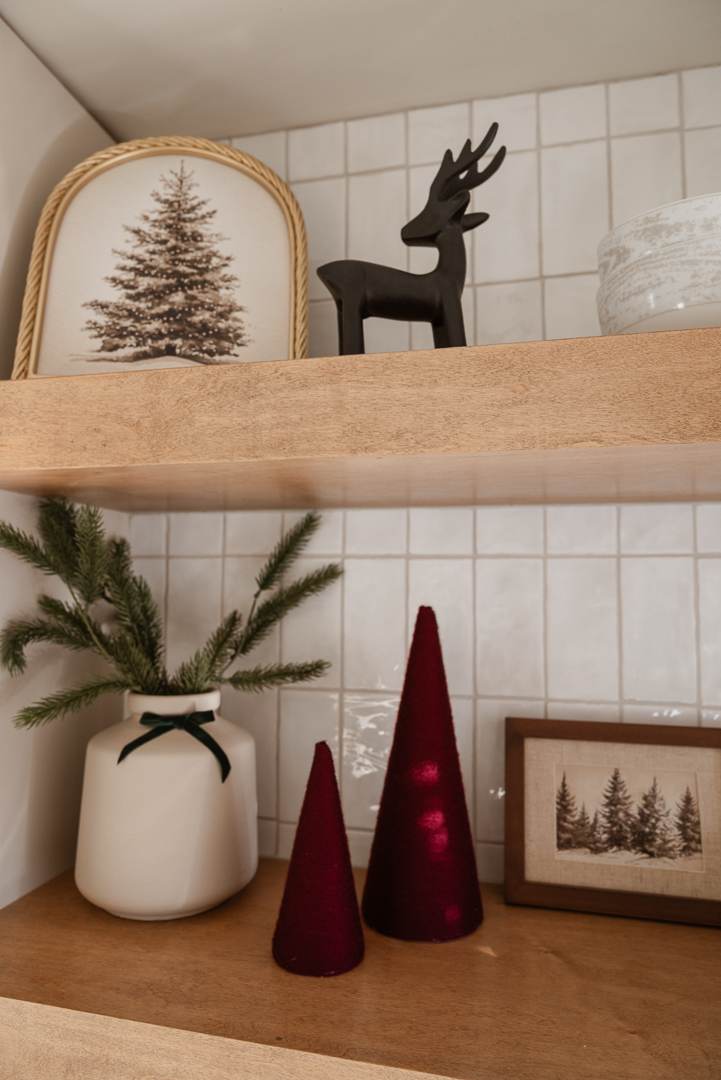
Next is a simple way to add holiday artwork to your home without spending much. I grabbed a $15 frame from Walmart and purchased a digital Christmas print on Etsy—there are so many beautiful options between one and five dollars.
A great tip is brushing Mod Podge lightly over the print. It gives the artwork more texture and makes it look like a painted piece instead of a glossy photo. I also prefer placing the glass behind the print for a matte, vintage feel. This small adjustment makes the art look custom and high-end.
elevated cutting board decor
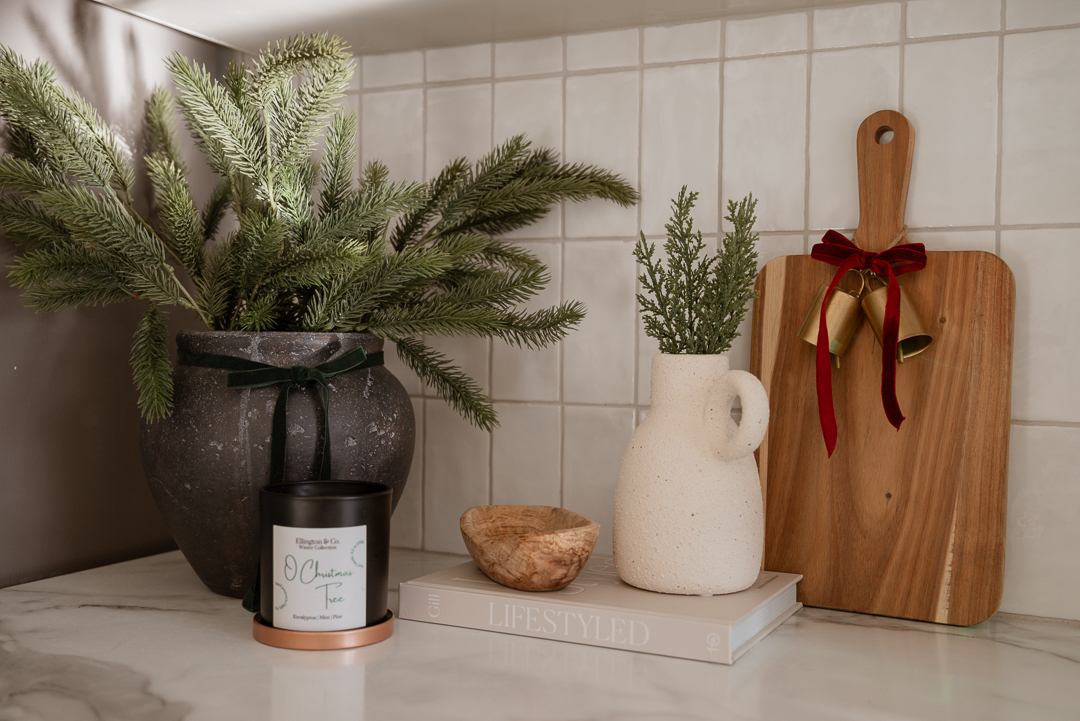
If you decorate your kitchen for Christmas, this is a DIY Christmas home decor idea that is an easy way to elevate a basic cutting board and tie in your holiday colour palette.
I added two vintage-style bells from Canadian Tire to a piece of twine, hung them from the handle of my cutting board, and finished the look with a handmade velvet bow in deep red. The bow method is simple: wrap the ribbon around your fingers three times, twice between your index finger and thumb, loop the center, and pull through. It works every time.
It’s a tiny detail that instantly adds warmth and texture to the kitchen.
You can check out my full blog post on this here: HOW TO STYLE AND ELEVATE A CUTTING BOARD FOR THE HOLIDAYS
diy fabric mat frames
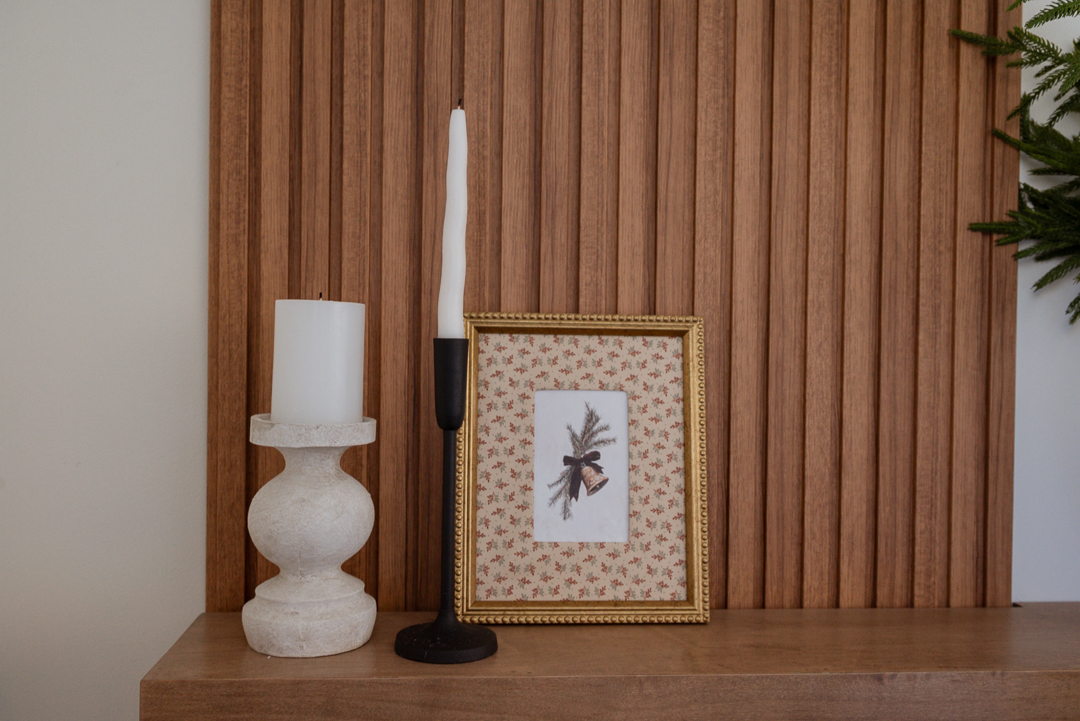
This DIY is another budget-friendly way to customize Christmas art. I used a $5 frame from Walmart, an Etsy print, and a piece of fabric from my local craft store to wrap the mat for a vintage-inspired look.
Cut the fabric slightly larger than the mat, then cut an X in the center so you can fold the fabric inward. Use small amounts of hot glue and pull the fabric tight to get clean edges. It’s a great way to add character using plaid, green, burgundy, or whatever pattern fits your holiday decor.
Again, I placed the glass behind everything to avoid glare and create a softer look.
You can check out my full blog post on this here: HOW TO DIY FABRIC MAT FRAME TUTORIAL
mini wreaths with bells
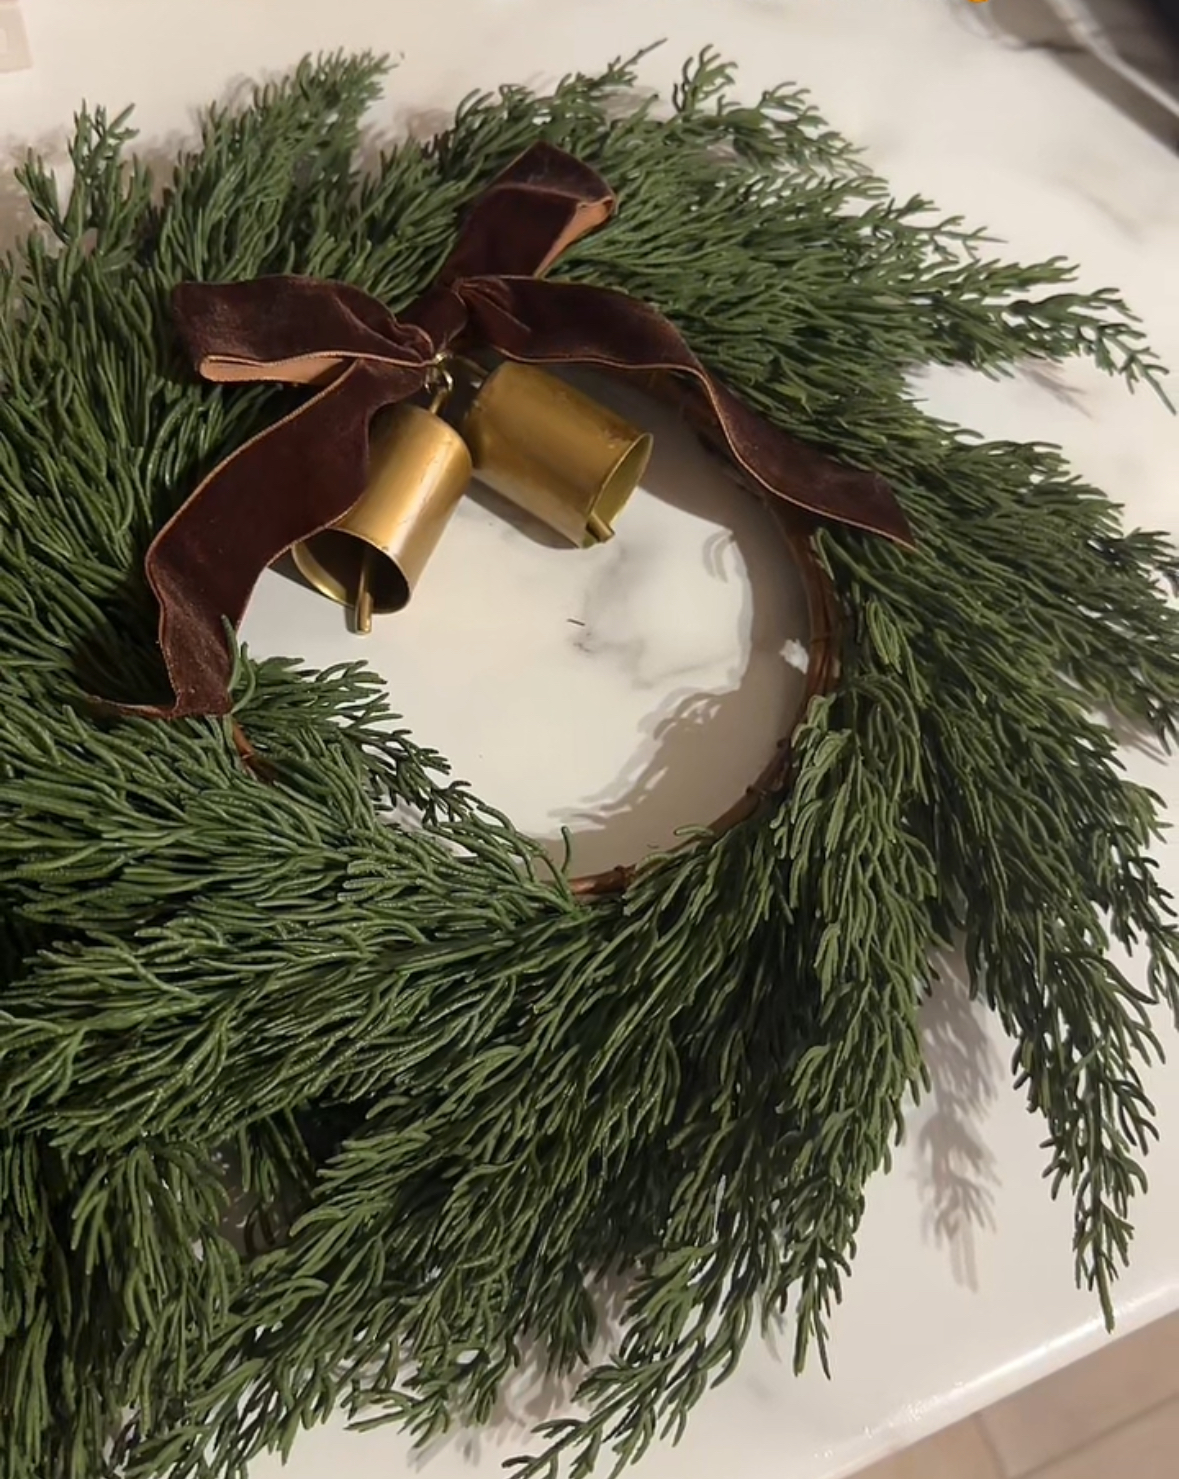
These mini wreaths might be the easiest project on the list, but the finished result looks so high-end. I used simple greenery wreaths from my craft store, added brass bells, and finished them with velvet bows—brown for one pair and burgundy for another.
I hung mine on either side of the window in my living room, and the combination of greenery, brass, and velvet brings such a cozy, traditional-meets-organic feel. These would also be great on kitchen cabinets, hallway hooks, or tied to a stocking holder.
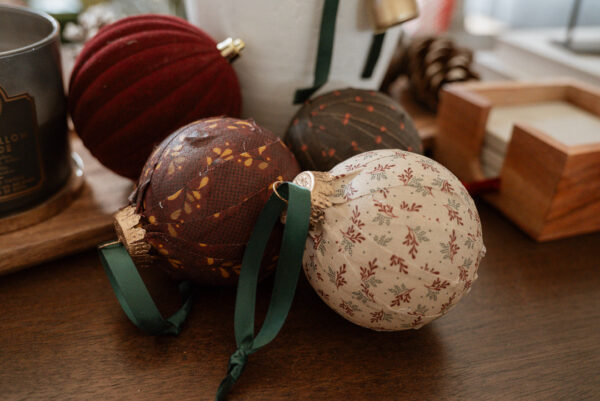
diy decoupage ornaments

Another DIY Christmas home decor idea is these fabric-covered ornaments, which turned out beautifully and can be made with any leftover fabric you already have. I used the same material from the picture-frame DIY, plus a few leftover scraps.
Cut your fabric into strips, brush Mod Podge on the ornament, attach the strips, and then brush more Mod Podge over the top. The material will wrinkle slightly, but that’s part of the charm—these ornaments have a vintage, handmade look that feels warm and collected.
Once dry, trim the excess fabric around the top and replace the ornament cap. I painted mine with dark brown acrylic paint and rub-and-buff to get a gold finish. Adding ribbon in green or burgundy completes the look.
You can check out my full tutorial here: DIY DECOUPAGE CHRISTMAS ORNAMENTS
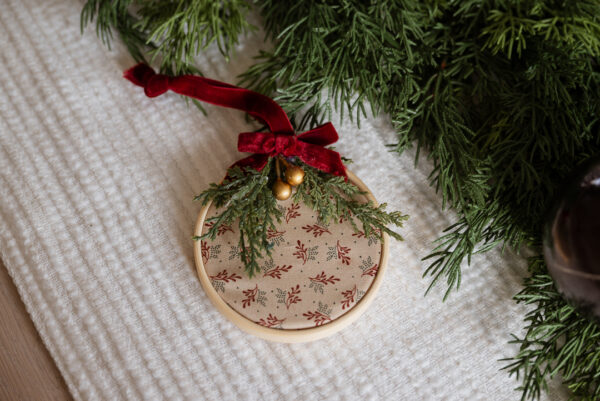
diy embroidery hoop ornaments

The last project uses mini embroidery hoops to create cozy, cottage-style ornaments. You can use fabric scraps, cross-stitch cloth, plaid, linen, or anything that fits your aesthetic. Add a ribbon or brass bell if you want to dress them up. They’re simple, customizable, and perfect for a neutral, organic, or vintage Christmas tree.
You can check my full tutorial blog post here: HOW TO MAKE DIY EMBROIDERY HOOP ORNAMENTS (MINI WREATHS)
6 DIY Christmas Home Decor Ideas
If you love these budget-friendly Christmas DIYs, don’t forget to watch the full video on YouTube for step-by-step visuals.
And if you want more holiday projects, DIY ideas, and home inspiration delivered straight to your inbox:
Sign up for my newsletter: https://www.megandauphineeliving.com/opt-in/