Friends, welcome back! If you’ve seen one of my recent YouTube videos, you might recognize this lamp—it was a $20 Facebook Marketplace find that I just had to grab. I’d been eyeing some beautiful stone lamps online, but the price tags were a little hard to justify.
The woman I bought it from told me she had painted it years ago, and when I looked at the bottom, there was an old sticker that said “1989.” Whether or not it’s truly from the ‘80s, it definitely has that vintage charm!
watch it on youtube
What I Used for This DIY Lamp Makeover
One of my favorite things about this project is that it cost me next to nothing to complete. I used leftover materials from previous DIYs, which made this an easy and budget-friendly lamp makeover.
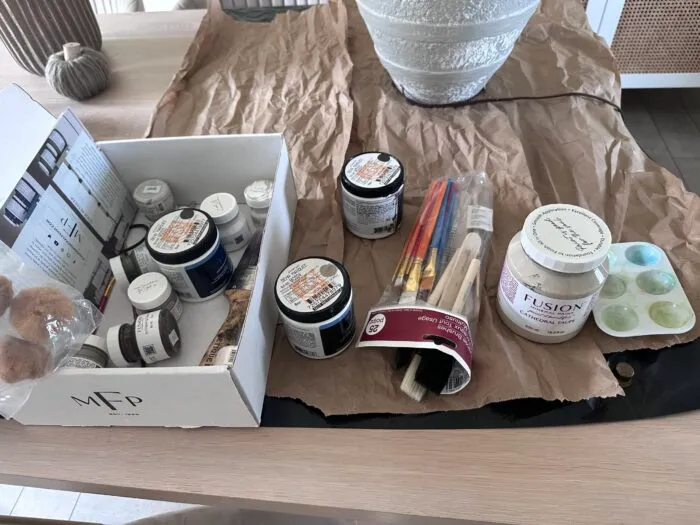
Here’s what I used:
- Dollar store black craft paint (as a base coat)
- A few leftover sample paints in beige and mocha tones
- Baking soda (to add texture)
- Sponges (for blending)
- Rustoleum spray paint in a soft beige (for the lampshade)
When I’m creating textured pieces like this, I always find sponges—or even my hands—blend better than brushes. It gives the finish a natural, stone-like texture that mimics those high-end stone lamps I love.
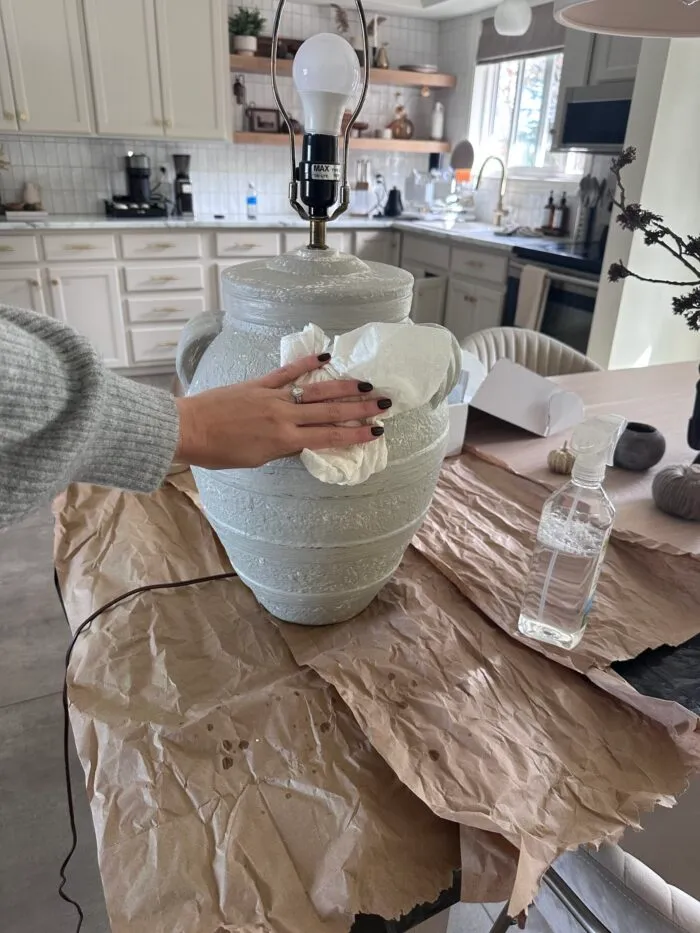
Step 1: Clean and Prep
This lamp had clearly lived a few lives before it landed in mine, so I gave it a thorough cleaning to remove any dirt or residue. A clean surface is key before starting any DIY lamp makeover.
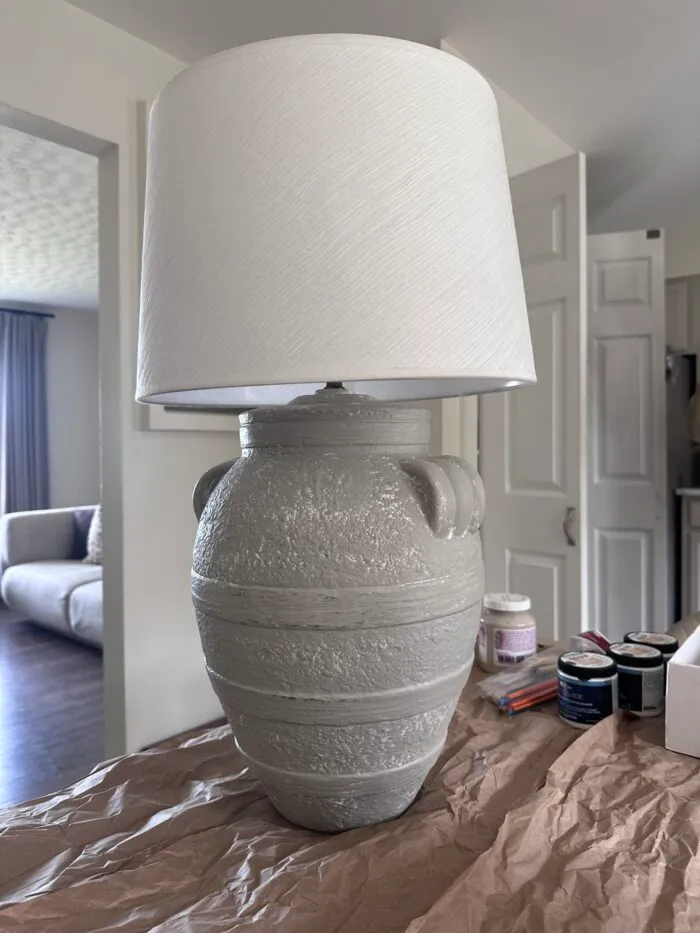
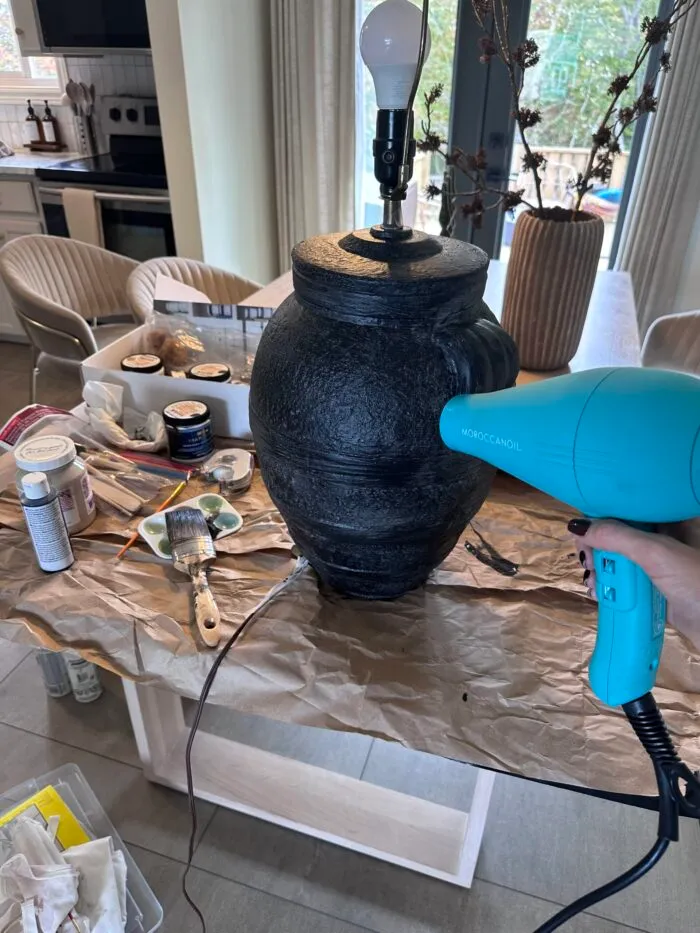
Step 2: Create a Dark Base
I started with two coats of black paint to create a strong base. My plan was to layer lighter, neutral shades over top for that faux stone lamp finish.
Step 3: Add Texture and Depth
Once the black paint dried, I began layering on lighter tones of beige and mocha. I mixed in baking soda to give it more texture and used a sponge to dab and blend until I got that organic, handmade look I wanted.
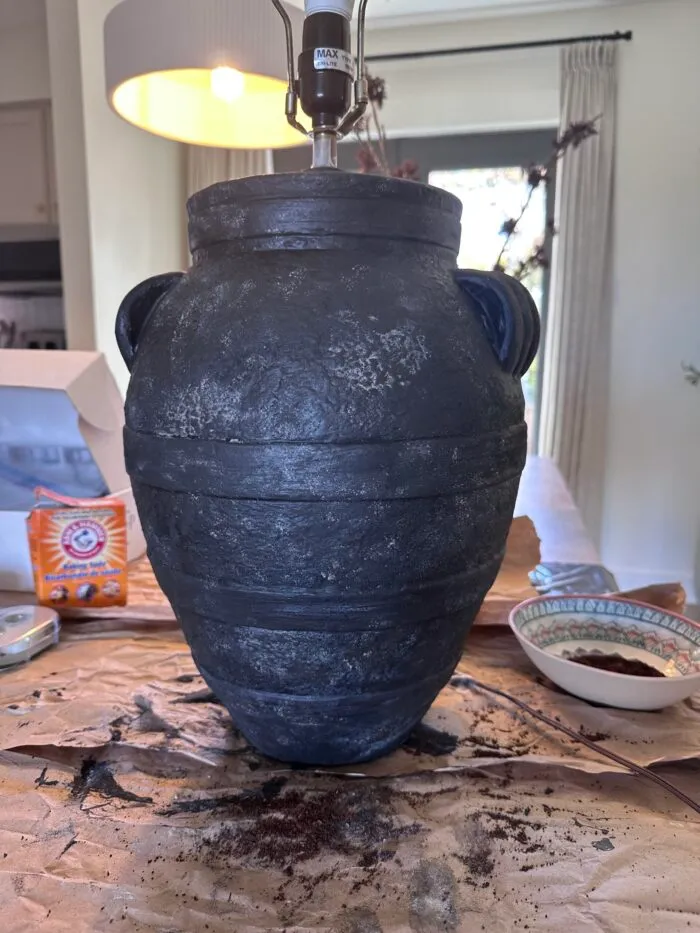
The best part about this step is that you can’t really mess it up. Keep layering until you love it. The goal is a soft, tactile finish that looks like a sculptural stone lamp you’d find in a boutique home store.
Step 4: Refresh the Lampshade
I originally wanted a tapered empire shade but couldn’t find one I loved for a reasonable price. So, I decided to give the existing one a little facelift.
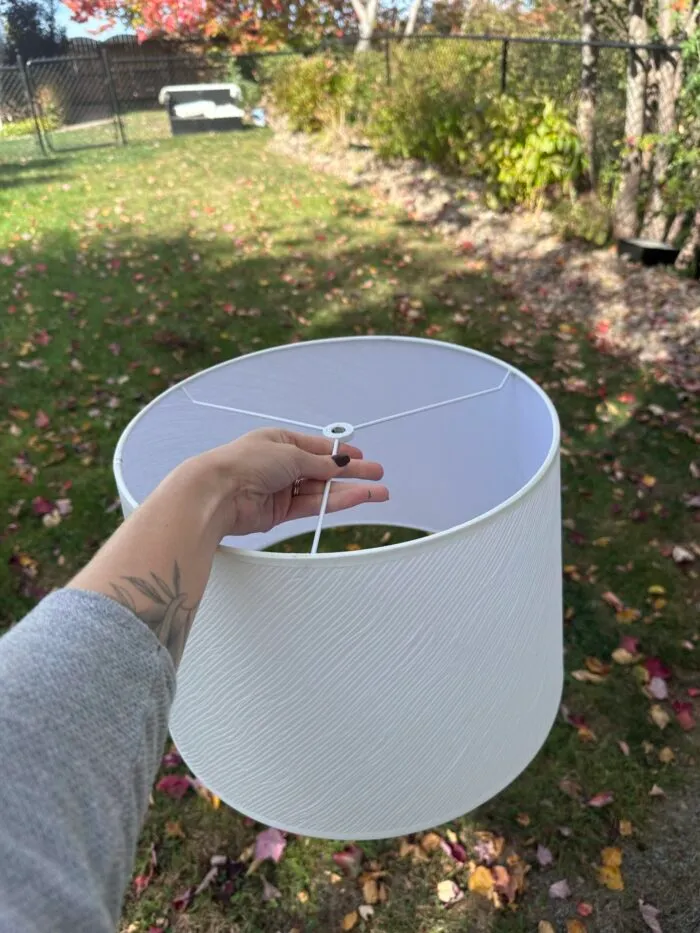
It was very white—too bright next to the dark base. To tone it down, I spray painted it using Rustoleum’s paint and primer in a soft beige. I set it on top of an old jug in the garage so I could spray all the way around without touching the ground.
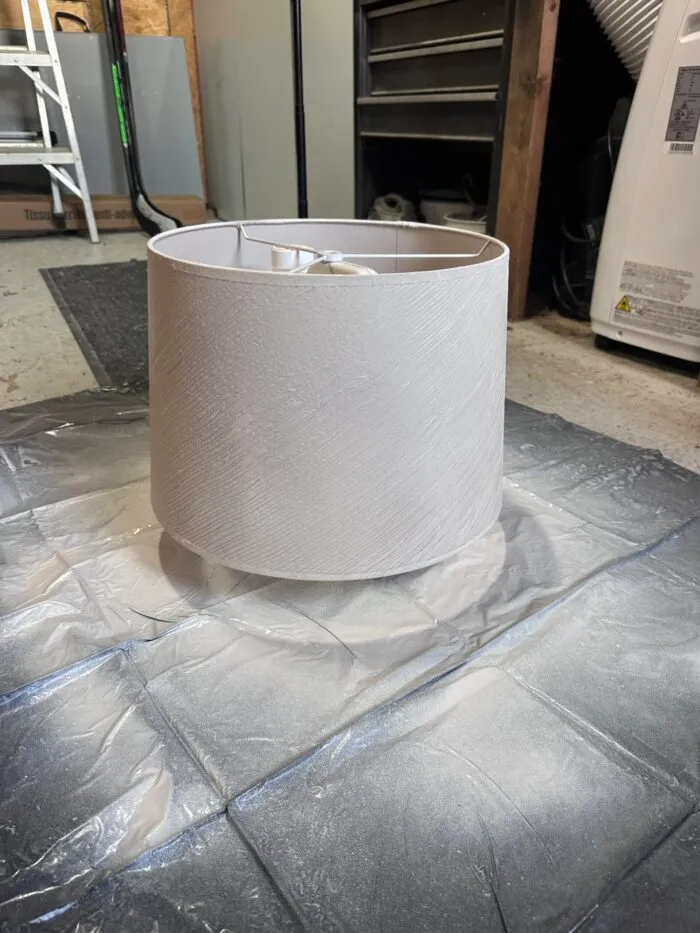
Pro tip: always start spraying off to the side before moving onto your piece to avoid overspray spots. I did two light coats, and it turned out even better than expected.
Step 5: Style and Enjoy
I initially thought this lamp would go in our dining room, but it ended up being too large for the credenza. So for now, it’s found a new home in our bedroom—and it fits perfectly.
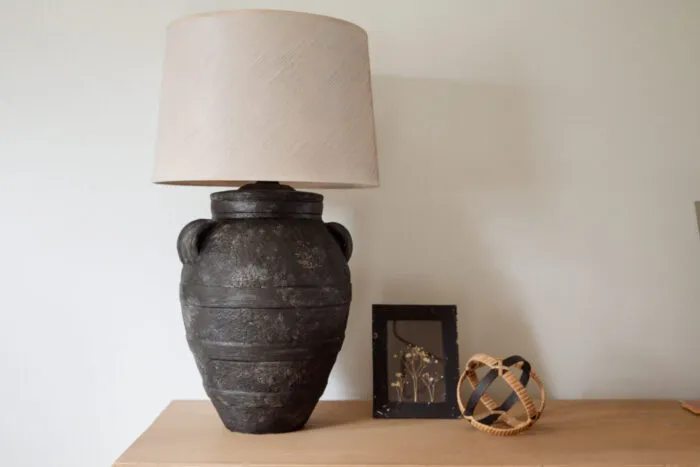
It’s not our main source of light, but it adds such a cozy, warm feel to the space. For $20 and a few leftover supplies, this DIY lamp makeover was totally worth it. It’s proof that with a little imagination, you can turn any thrifted find into something beautiful.
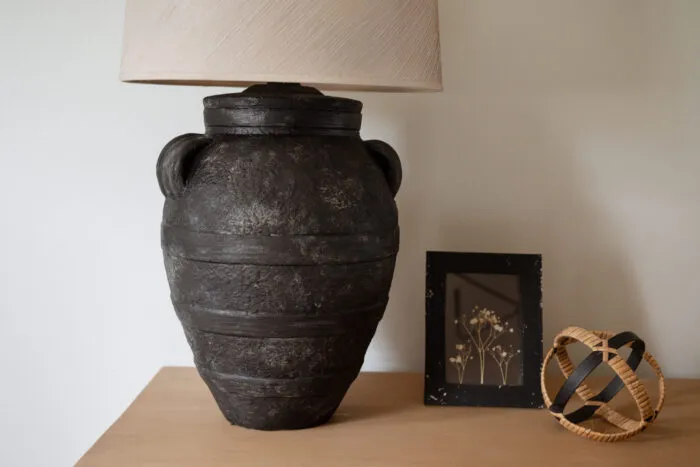
Before and After
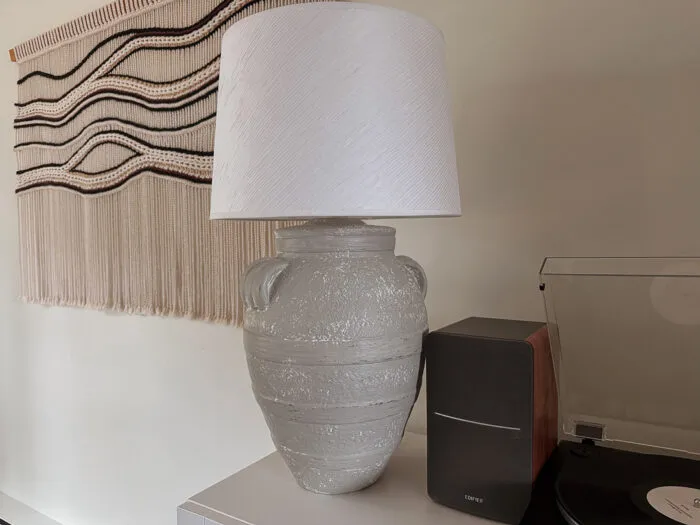
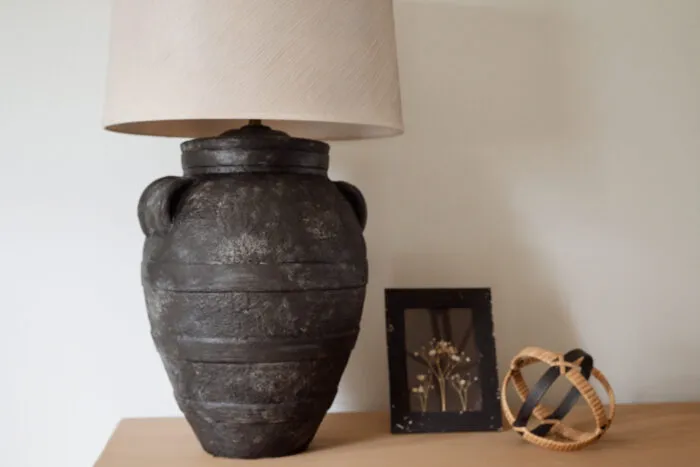
It’s always amazing to see how far a simple thrift store lamp makeover can go. From dated and dusty to modern and sculptural, this little project shows how easy it can be to get that designer stone lamp look on a budget.
Would you have guessed this started as a $20 Marketplace lamp?
Loved this project? Let’s stay connected!
If you found this DIY guide helpful, don’t forget to save it for later by pinning it to your favorite Pinterest board! It’s the easiest way to come back when you’re ready to tackle this project.
Want more inspiration?
Sign up for my newsletter and get exclusive step-by-step guides, budget-friendly home ideas, and my favorite product recommendations delivered straight to your inbox. Plus, you’ll be the first to know about new DIY projects!
Let me know how your project turns out—I’d love to see your results!
Check out my other posts:
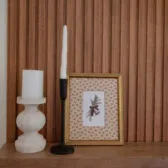
DIY VINTAGE LANDSCAPE ARTWORK: AFFORDABLE THRIFTED FRAMES AND ETSY PRINTS
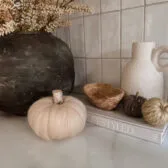
HOW TO CREATE VINTAGE-STYLE STONE VASE AT HOME: PERFECT TEXTURED VASE