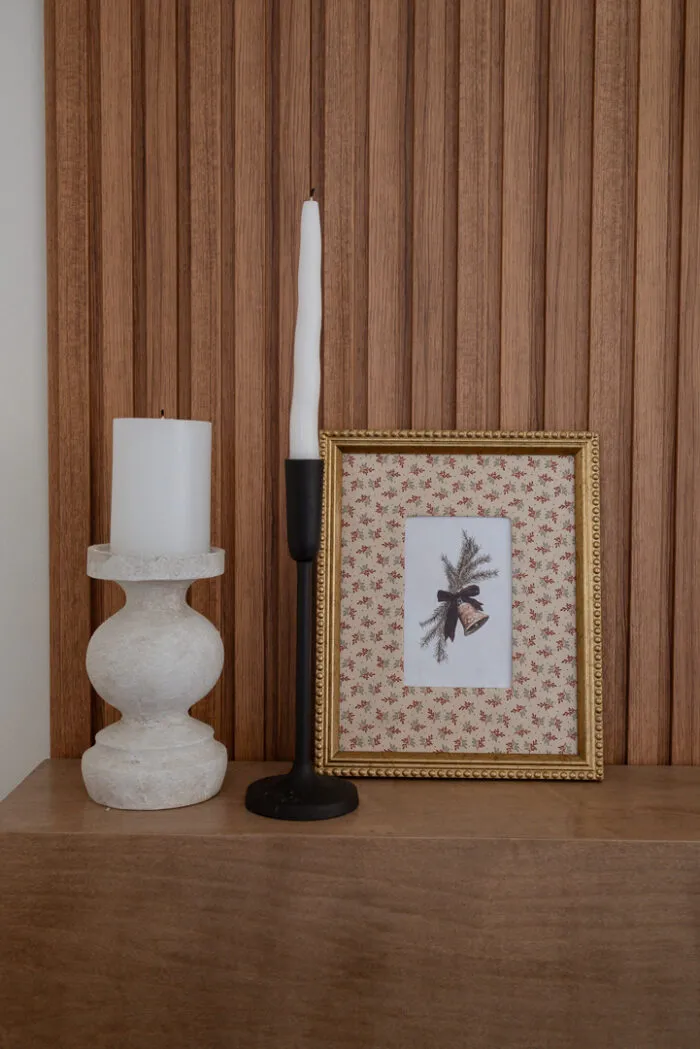
If you want a simple but impactful way to bring more seasonal charm into your home, this DIY fabric mat frame tutorial is such a lovely project. It gives your artwork a vintage holiday look and elevates even the most affordable frames.
DIY Fabric Mat Frame
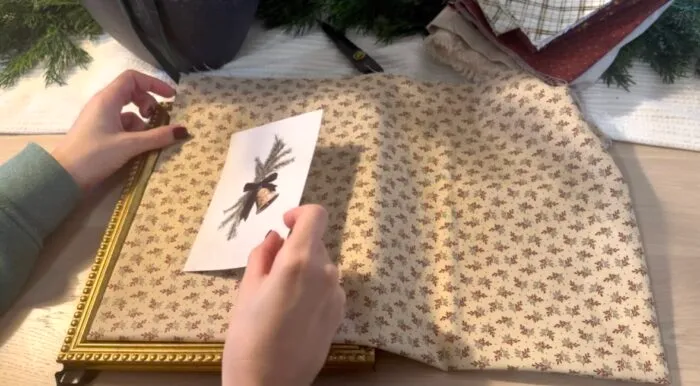
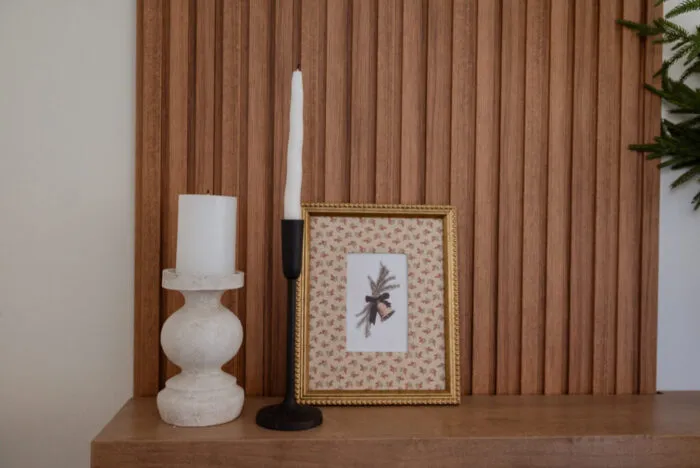
I started with a five-dollar frame from Walmart and a small piece of fabric from my local craft store. Then I browsed Etsy for a Christmas print—there are so many beautiful options, and most are under five dollars. Once you download one you love, print it at your local store or at home.
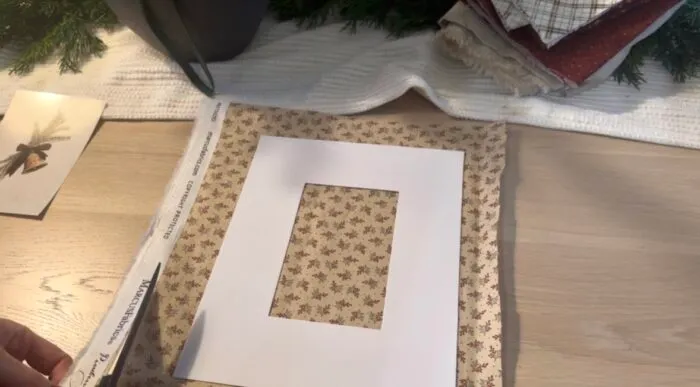
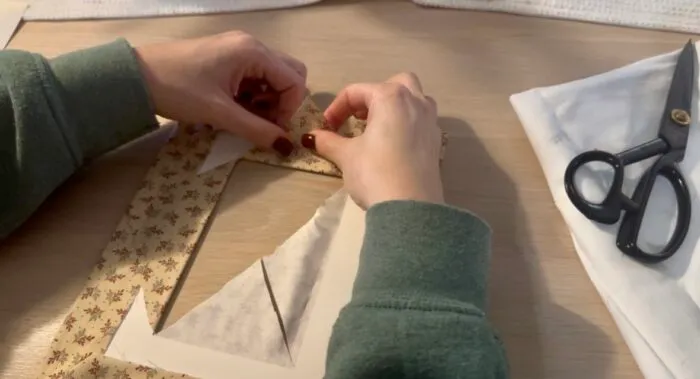
The next step is to make a DIY fabric mat frame, is to cover the mat with fabric. Cut your fabric slightly larger than the mat itself. On the back, cut an X in the center of the opening, trimming right to each corner so you can wrap the fabric tightly. This gives the cleanest finish once everything is glued down.
Using a glue gun (on low heat so it doesn’t melt anything), apply a small amount of glue along the edge of the mat and press the fabric down. Less is more here—too much glue can show through. Continue working around all four sides, keeping tension so the material sits smooth and flat. For the top and bottom edges, fold the corners neatly the way you would when wrapping a present.
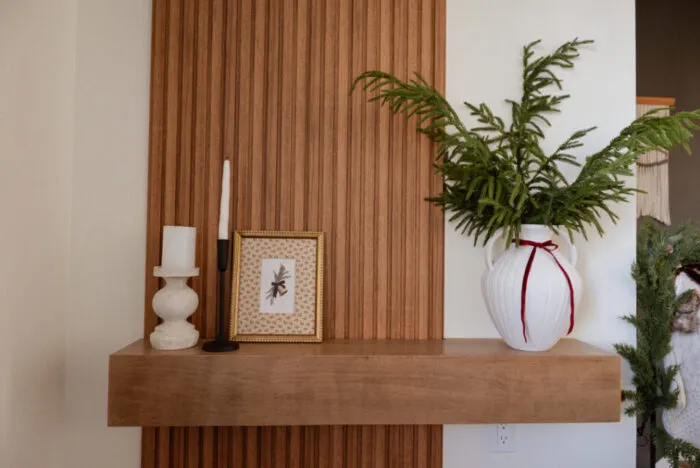
Once the fabric is secured, slip your print in place. I personally like placing the frame’s glass behind the artwork instead of in front. For me, it gives more of an artwork feel and removes the shine, but this is totally personal preference.
This DIY fabric mat frame project is incredibly budget-friendly, customizable, and has a big impact. Whether you want plaid, something neutral, or a bold red fabric, you can tailor it to your Christmas style instantly.
You might also like my other posts:
How To Style and Elevate your Cutting Board For Christmas
DIY VINTAGE LANDSCAPE ARTWORK: AFFORDABLE THRIFTED FRAMES AND ETSY PRINTS
HOW TO CREATE VINTAGE-STYLE STONE VASE AT HOME: PERFECT TEXTURED VASE