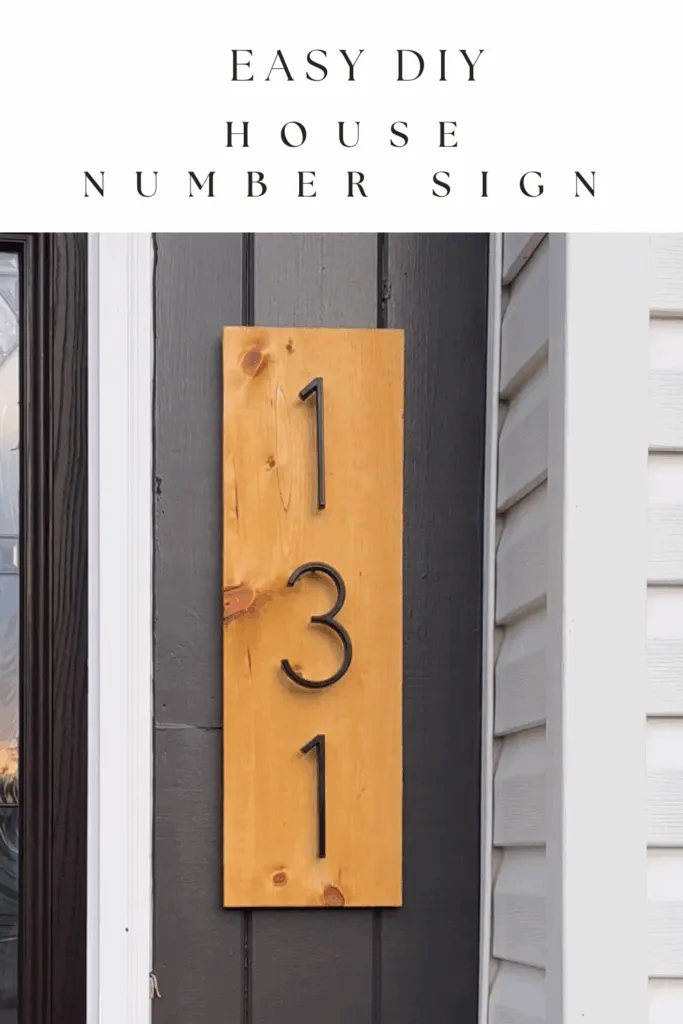
When it comes to boosting curb appeal, small details can make a huge difference! One of the easiest ways to make your home feel more personalized and welcoming is by updating your house numbers. Instead of buying a standard set, I decided to take on a fun DIY project and create a custom DIY house number sign. I wanted something that was modern and contemporary that would stand out. This was a super easy DIY project and beginner-friendly. All you need is a few tools and materials. Here’s how I did it, step-by-step!
Materials used to make house number signs
- A piece of wood (I used pine) size of your choice
- Sandpaper- I used 220 grit
- Wood conditioner
- Wood stain (in your preferred color) - I used weathered oak and early american combined
- Floating house numbers
- Power drill
- Drill bit set
- Hardware for hanging
Here is a link to my LTK (Like To Know It) where I link all of the products I used in this project for you. (this link does include affiliate links)
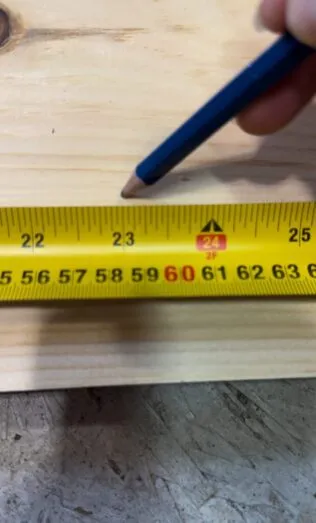
step 1: cut wood to size for house number plaque
First, I chose a solid piece of wood that would complement the style of my home. I already had some leftover pine wood from another project so I opted to use that. After measuring the dimensions I wanted, I cut the wood to size by placing the floating numbers on the piece of wood to see what I liked best. This step allows for flexibility—you can keep it simple or go for a more decorative look depending on your taste.
step 2: sanding your diy house number sign
To ensure the wood was smooth and free from rough edges, I sanded it down, I just used 220 grit sandpaper that I already had. The smoother the surface, the better the stain will take, and the more professional your sign will look. Once sanded, be sure to wipe it down with a damp, clean cloth to ensure all of the dust is removed, then wait for it to dry before proceeding to the next step.
step 3: apply wood conditioner
Next up on this DIY house number sign, I wanted to ensure I had a professional finish. So, I applied a wood conditioner to prep the wood for staining. This step helps the wood absorb the stain evenly, preventing blotches or uneven coloring, which is especially important with certain types of wood.
Here is also a link to a video I made walking through the steps mentioned above for this project!
step 4: staining your house number sign
After letting the conditioner dry, I applied the wood stain in thin, even coats, wiping away any excess as I went along. For this step you can choose any stain of your choice. I mixed Weathered Oak and Early American. I started with one coat of Weathered Oak, once dried I went over it with an additional coat of Early American and was happy with the color then ensure to allow the stain to fully dry before moving on to the next step.
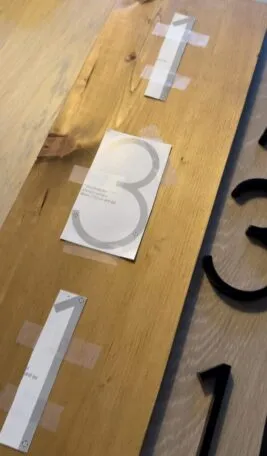
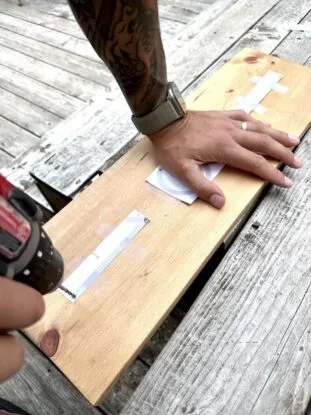
step 5: drilling holes for your floating numbers
Once the wood was dry, it was time to add the numbers like any good house number signs! I used the templates that came with my floating modern house numbers to mark exactly where the screws would go. I carefully drilled holes into the wood at the marked spots using a power drill and the correct drill bit.
step 6: attaching the floating numbers
With the holes in place, attaching the floating numbers was simple. I followed the instructions, which involved screwing in small spacers between the wood and the numbers to give them that cool "floating" effect. You can hammer them in but I used my hands to just apply pressure and push them into place. The screws were longer than the width of my sign but not by much so I did not worry about them sticking through on the back.
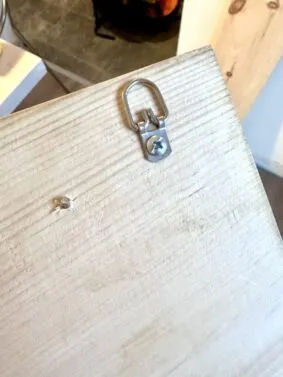
step 7: add hardware to diy house number signs
Finally, I attached hardware to the back of the sign so it could easily hang on the exterior of my house. To ensure it was durable, I used sturdy hardware to ensure it would hold up against outdoor elements. When it comes to hanging options, you can choose keyhole brackets, sawtooth hangers, or D-rings depending on how you want your sign to hang.
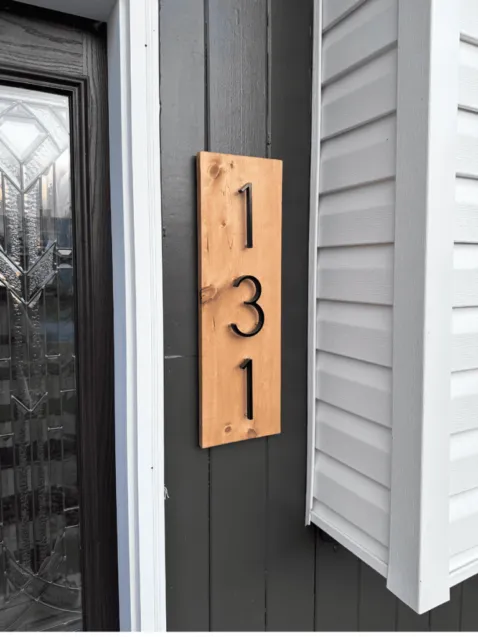
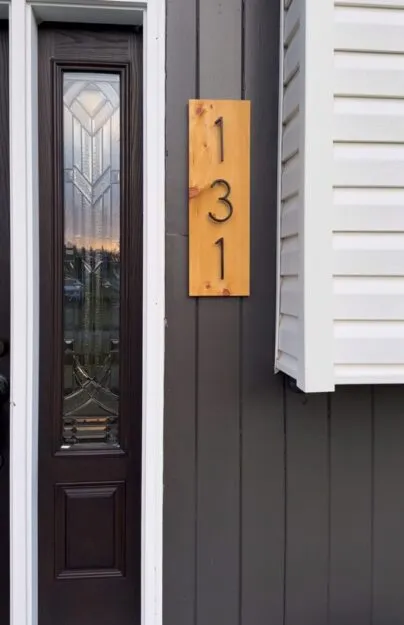
the finished product
After hanging my new house number sign, I couldn’t be more pleased with how it turned out. The project was not only affordable, but it also gave me the chance to create something completely custom for my home. It’s always satisfying to see a DIY project come to life, especially when it adds such a personal touch to your home’s curb appeal.
Here is the link to all of the products I used for this project. Please note I will earn a small commission if you purchase through the link. Here is also a link to a video I made walking through the steps mentioned above for this project!
If you’re looking for a quick and rewarding project to spruce up your home’s exterior, I highly recommend making your own house number sign. You can tweak the design in so many creative ways!
Have you ever tried making your own house numbers? Let me know in the comments if you give this project a try or have any creative twists on it!
You must check out my front door makeover PAINT THAT LOOKS LIKE WOOD - FAUX WOOD PAINTING TECHNIQUE
Or you might like my exterior facelift SPLIT LEVEL HOME EXTERIOR MAKEOVER: HOW TO ADD VALUE ON A BUDGET
Loved this project? Let’s stay connected!
If you found this DIY guide helpful, don’t forget to save it for later by pinning it to your favorite Pinterest board! It’s the easiest way to come back when you’re ready to tackle this project.
Want more inspiration?
Sign up for my newsletter and get exclusive step-by-step guides, budget-friendly home ideas, and my favorite product recommendations delivered straight to your inbox. Plus, you’ll be the first to know about new DIY projects!
Let me know how your project turns out—I’d love to see your results!


Hello! I hope you're having a great day. Good luck 🙂