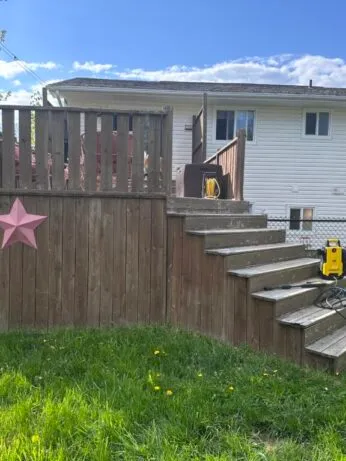
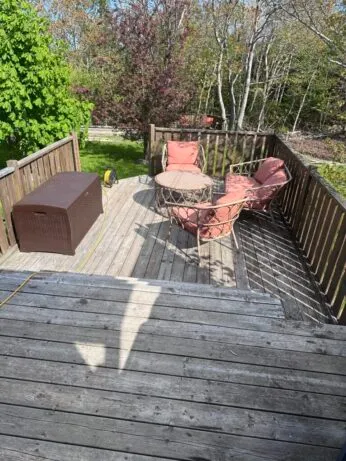
After more than a decade of wear, weather, and neglect, our backyard deck was long overdue for some TLC. The last time it saw stain was more than a few years ago.. Only a few patches of the old finish were still clinging to life on the railings—everything else had faded, peeled, or just disappeared. It was certainly due for a good cleaning and deck restore to extend its longevity and give it a new life!
If you're looking for deck restore tips, ideas for staining a deck, or you're planning your own patio makeover on a budget, I’m walking you through exactly how we tackled our project—from pressure washing to picking the right stain—and what I’d do differently next time. Be sure to check out the Q&A at the end where I answer common questions!
A Realistic Look at How to Restore a Deck
This wasn’t a weekend DIY. Our deck hadn’t been cleaned or sealed in years, and it showed. But with some determination (and a bit of elbow grease), we managed to restore a deck that looked beyond saving—and made it a cozy outdoor space we actually want to spend time in.
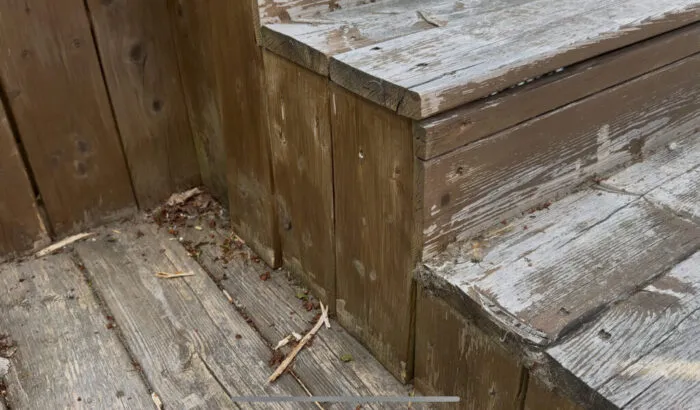
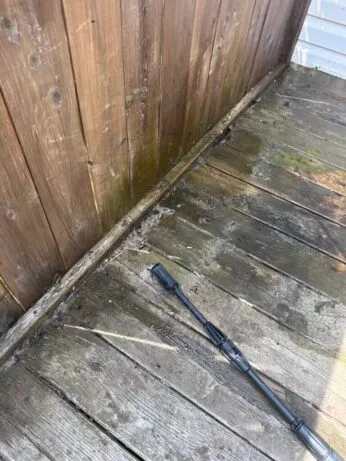
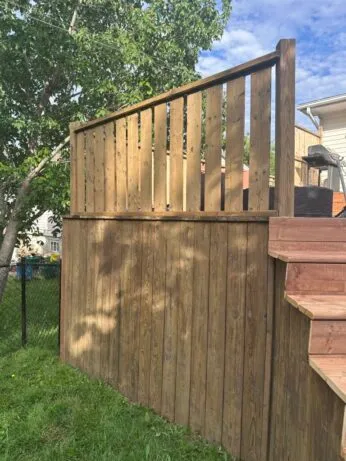
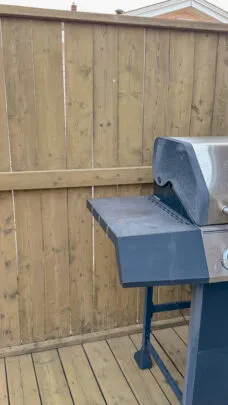
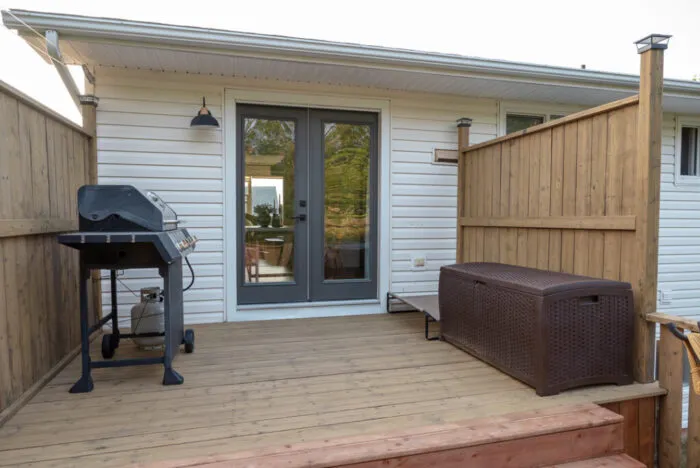
Here is what I started with:
Step 1: Prep the Deck for Staining (The Most Important Step)
Before you even think about applying stain, you have to prep the deck for staining. Skipping this step is the fastest way to waste your time and money.
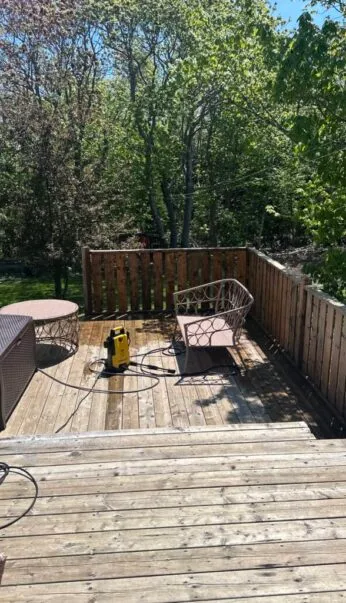
Here’s how we prepped ours:
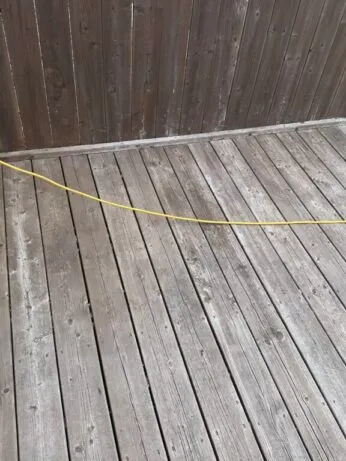
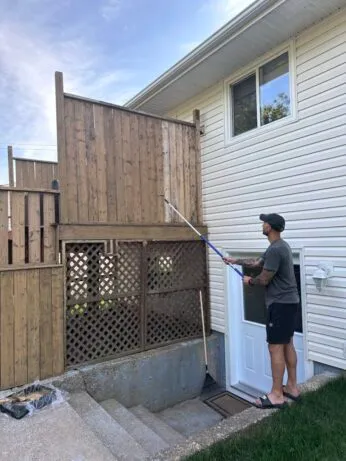
- Pressure washed every inch using a wide-angle nozzle to avoid gouging the wood.
- Focused on the railings, stairs, and floorboards—all were coated in layers of dirt and mildew.
- Let everything dry completely for 48+ hours before moving forward.
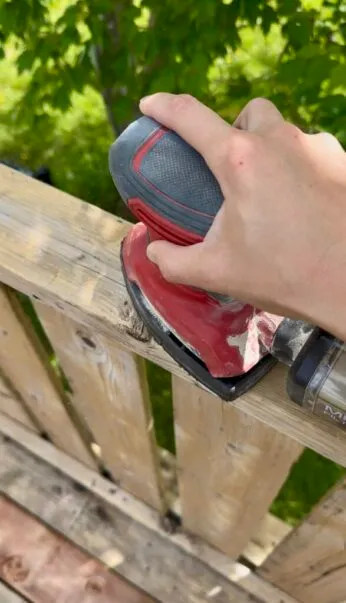
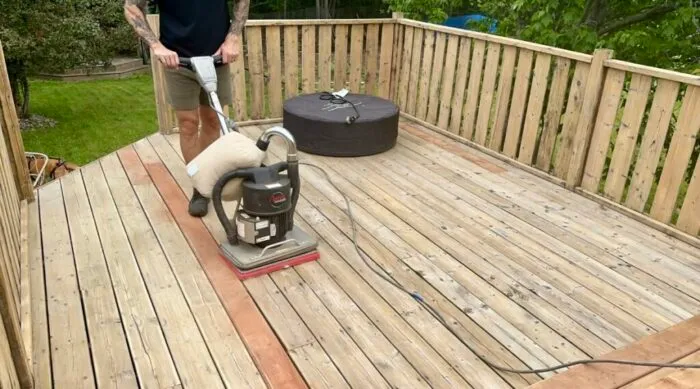
- sanded everything with 60 or 80 grit sandpaper
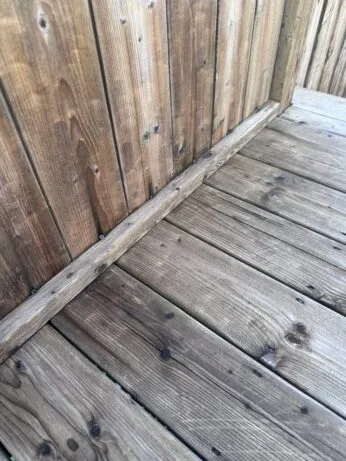
This first step made a massive difference. If you're looking to restore a deck, you'll be amazed at what a good wash alone can do.
I didn't use any deck stripper or cleaner, but I could have, and if you have a lot of tough-to-remove stain, I recommend using it. However, my deck came out extremely fresh with just water alone! Look at the before and after above!
Do you need to sand your deck before staining? I was very torn on sanding the boards... the internet is also torn. In the end, I decided to do it to see how it holds up. I did not sand my front step last year, and it looked terrible this year. The staff at Benjamin Moore also told me it was a good idea to sand.
I rented the floor sander from Home Depot and used my hand sander for the railings.
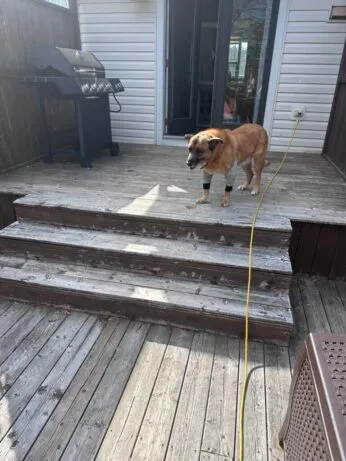
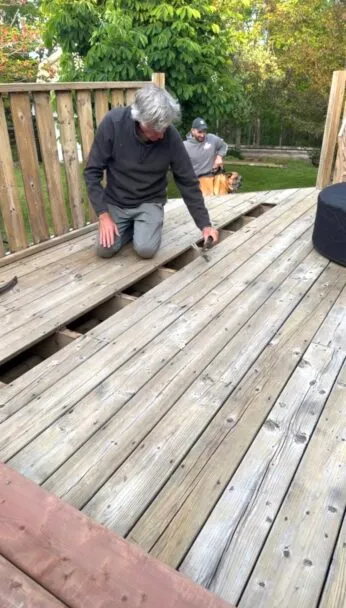
Step 2: Replace Damaged Wood to restore a deck
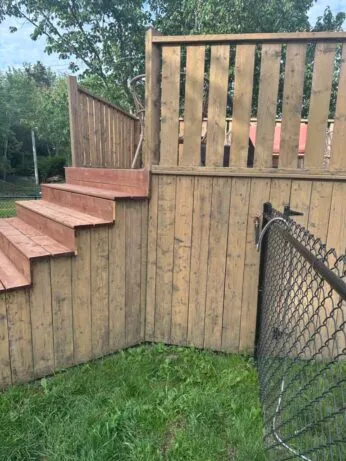
Once the deck was clean, we could see just how much needed replacing. Some boards were soft, cracked, or warped beyond repair. Especially our stairs.
- We swapped out a couple of deck boards and the entire staircase as they were completely rotted.
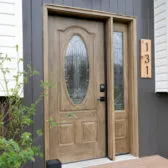
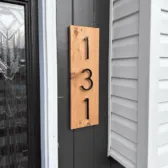
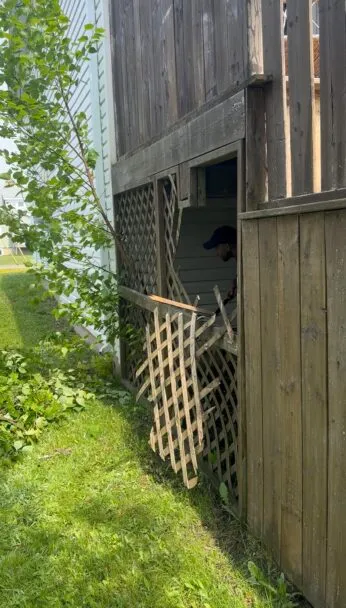
- The old lattice was falling apart on the sides, so we replaced it with vertical boards for a more modern look.
- All new wood was pressure-treated, which means it needs time to dry before we can stain it—so next year we’ll tackle blending that in.
These repairs were a must for a lasting deck restore and our backyard makeover!
Step 3: Deck Staining Decisions for our deck restore
Once the structure was solid, it was time for the fun part: choosing a stain. But let me tell you—deck staining is not as simple as picking a pretty swatch and calling it a day. Here’s what went into the decision:
- I debated between semi-transparent vs. semi-solid stain finishes.
- Considered going light and bright… but worried it would show every flaw vs. darker to hide everything
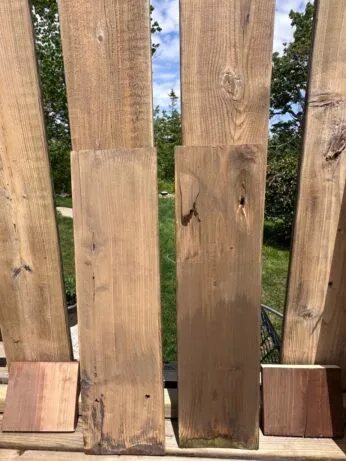
- In the end, I chose Norwich Brown by Benjamin Moore in their Woodluxe oil-based semi-transparent stain. (the one on the left below, the board on the right is Oxford Brown)
I used a water-based stain last year on our front steps, and it didn’t hold up. Then, I used it on my wooden fence and it has hold up great. For high-traffic areas that get a lot of exposure to elements, oil-based is the best way to go. Water-based seems to be great for vertical wood choices that have less traffic.
So this time I went with oil-based for deeper penetration and better protection. If you're debating products, this type of restore a deck stain worked beautifully on our older wood.
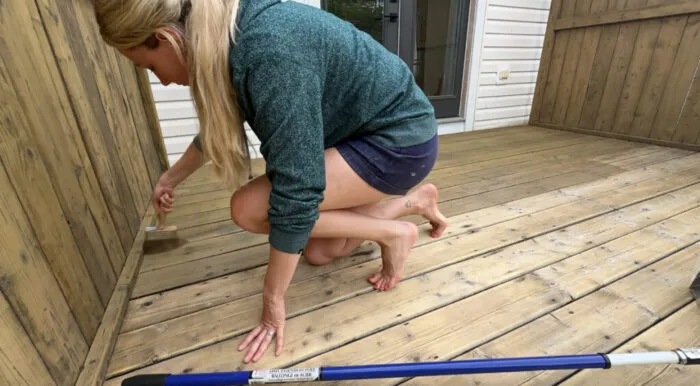
Step 4: Applying the Stain for Staining a Deck
Let’s talk real life: I only did one coat of stain. Technically, it should get two as I went with a lighter color and where it is an older deck a second coat would thicken it. That or I should have probably gone semi-solid. But since we added new wood, I decided to wait and do the second coat next season so everything can blend. The new pressure treated wood has a redish brown color to it so my hope is it will fade a bit over the next year and then I can blend it all together with another coat of stain.
- Some areas look rich and even—others clearly need that second coat.
- I almost regret not going darker or opting for semi-solid coverage, but hey—you can’t win them all.
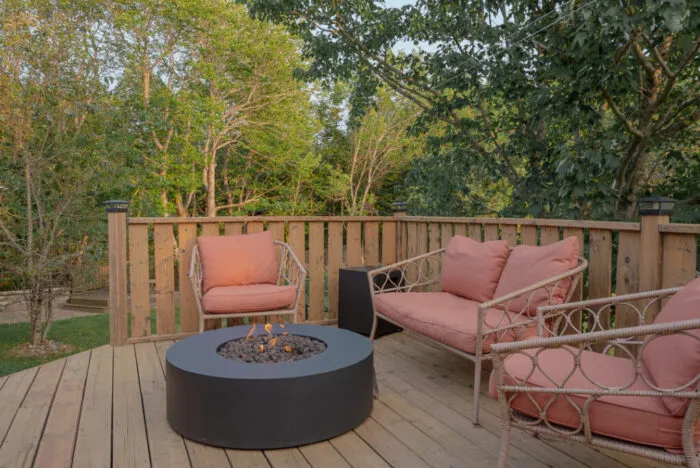
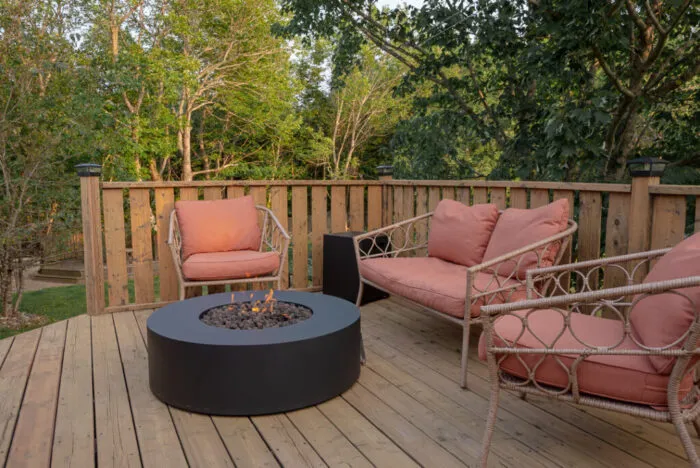
Step 5: Budget Patio Makeover Finishing Touches
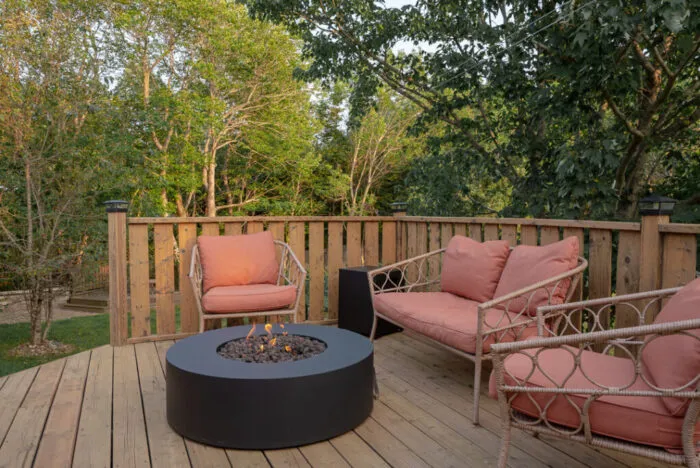
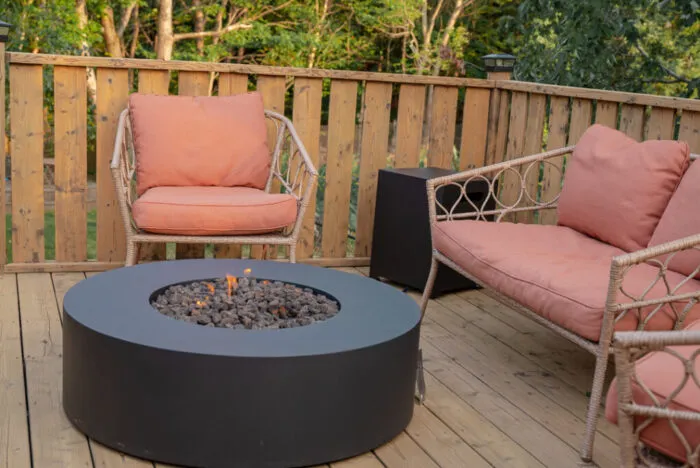
Once the stain was dry, it was time to bring the space to life—and give this budget patio makeover a cozy, finished look.
I found solar lights on Amazon and they completely transformed the deck! Inexpensive, easy to install, and they made the posts feel finished. Before, everything looked kind of bare.
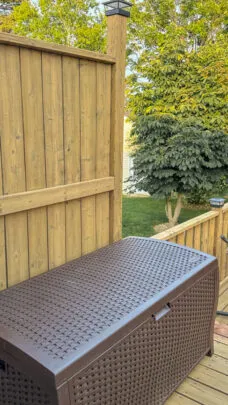
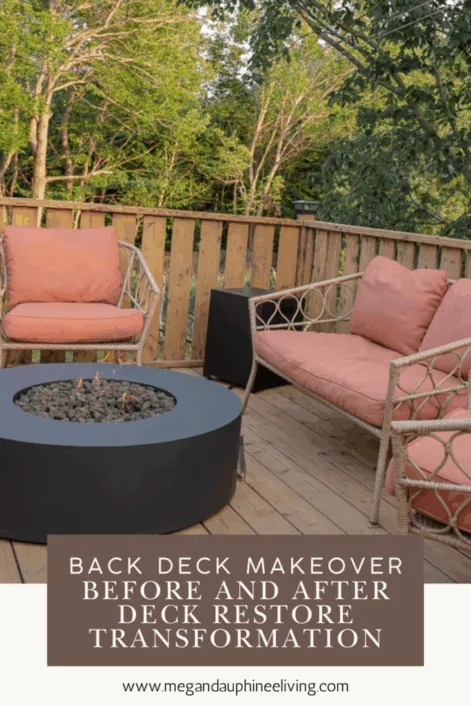
We added a propane fire table from Home Depot that makes the deck so much more inviting. The only downside? The propane tank doesn’t fit underneath. So my solution was a propane tank cover from Wayfair that doubles as a side table! I love this fire pit as it gives the space a more elevated look and modern aesthetic.
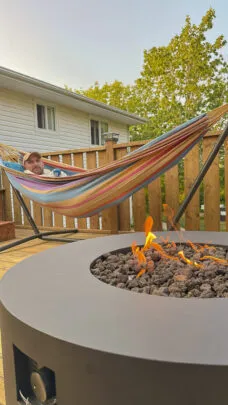
Our outdoor set was a Home Depot clearance find from two years ago—and now is the best time to buy since everything’s on sale. We also LOVE our hammock and this patio cushion holder!
I've linked everything below for you to check out. The only thing I couldn't link is the Fire table from Home Depot Canada but you can check it out here. Also linking some decor options!

Before and After: Deck Makeover Ideas That Actually Worked
This whole experience gave me lots of fresh deck makeover ideas, but it also taught me a few key things:
- Prep matters—don’t skip pressure washing or wood repair.
- Choosing the right stain for your project is key.
- Live with your choices and make adjustments later—it’s okay if it’s not perfect the first time.
At the end of the day, this backyard makeover made our deck feel completely refreshed and way more functional. Plus, it’s finally protected from the elements again and should last us for years to come!
What’s Next?
We’re not stopping here—next up is our second small deck and firepit area in the backyard. It’s getting a full refresh too BUT ON A BUDGET so stay tuned for more deck makeover ideas and tips on tackling outdoor spaces that need a little love.
Frequently Asked Questions: Deck Restore & Staining a Deck
1. What’s the best way to prep deck for staining?
Proper prep is key to successful deck staining. First, pressure wash your deck with low to moderate pressure using a wide fan tip and spraying with the grain to avoid gouging the wood. Clean with a deck cleaner or TSP solution, scrub thoroughly, rinse well, and let the deck dry completely—typically 48 hours. Then, sand with 60 or 80 grit sandpaper - a light scuff will do.
2. Is staining a deck better than painting it?
Absolutely. Unlike paint, stain penetrates the wood, allowing it to breathe and move with seasonal changes. Paint can crack, peel, fade quickly, become slippery, and trap moisture—whereas stains generally last longer and are lower maintenance.
3. Oil-based or water-based stain: which is better?
Oil-based stains generally penetrate deeper into wood and last longer versus water-based. Especially on older or pressure-treated wood, oil stains provide richer color and weather resistance. Water-based stains are easier to clean up—just don’t expect the same durability!
4. Should I do one coat or two coats for deck restore?
Most semi-transparent stains benefit from two coats, especially on older or raw wood. The first coat penetrates; the second adds depth and consistency. New pressure-treated lumber especially benefits from a second coat after it's dry. That said, even one well-applied coat improves protection significantly—just plan to revisit it next season (like me!)
If you loved this project check out 6 EXTERIOR HOME IDEAS: HOW TO BOOST CURB APPEAL ON A BUDGET
Or, you can check out my Outdoor & Exterior Projects here!
Loved this project? Let’s stay connected!
If you found this guide helpful, don’t forget to pin it to your favorite Pinterest board for when you're ready to restore a deck or do your own patio makeover on a budget.
Want more inspiration?
Sign up for my newsletter and get exclusive step-by-step tutorials, home decorating tips, and my favorite product recommendations delivered straight to your inbox.

Let me know how your deck restore or staining a deck project turns out—I’d love to see the transformation!