If your closet door is looking plain or outdated, this DIY closet doors makeover is a simple way to give it a high-end, custom look—without the custom price tag. This makeover will give your doors that trending fluted look! Whether you're updating a hallway closet, a bedroom, or even bifold doors, this project adds texture and character in a beginner-friendly way.
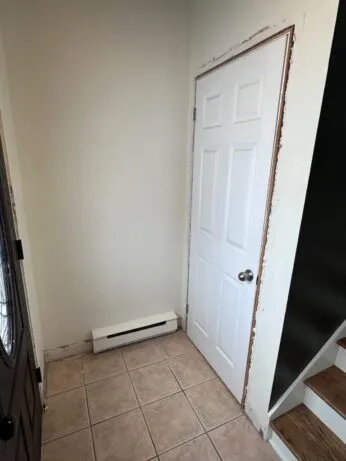
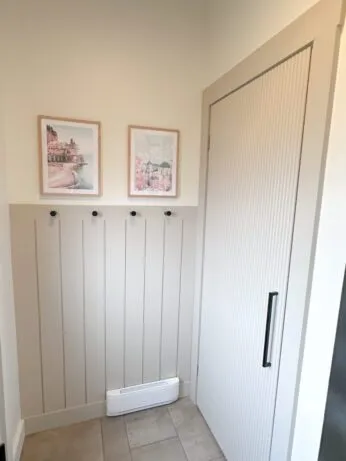
I wanted a fresh, modern look for our small entryway, and refacing the closet door using MDF reed molding was the perfect solution. It gave the door subtle texture and that fluted cabinet door style I’ve been seeing all over Pinterest—without replacing the door completely.
Why Choose a diy fluted closet door makeover?
Fluted textures are one of my favorite design details because they add visual interest without being too bold. I kept coming across the fluted closet door and fluted cabinet door designs online and thought, Why not try it myself?
This closet door makeover works if:
- You're looking for a fun and affordable DIY closet door ideas
- You want a modern design that complements small spaces
- You want to update a standard or bifold closet door without replacing it
- You're after a small closet makeover that looks custom
materials i used for my reed molding door
Here’s what I used to reface my standard closet door
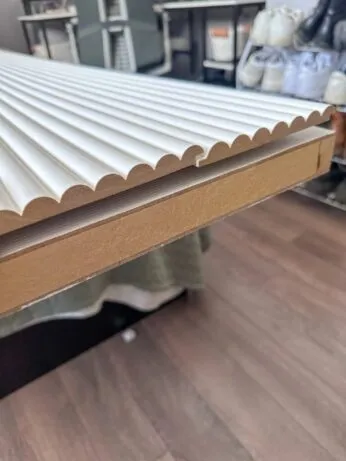
- MDF Reed Molding
- Jigsaw
- Miter Saw
- Electric Sander
- 18-guage nail gun and nails
- Wood Filler
- Caulk
- Paint
- Sleek Handle Pull USD link CAD link
This approach works great on standard slab doors, but it can also be adapted for DIY bifold closet door makeovers using the same step.
youtube video of this entryway makeover
If you prefer to watch YouTube - check out the details on this entryway makeover below!
step by step: how to create a fluted diy closet doors look
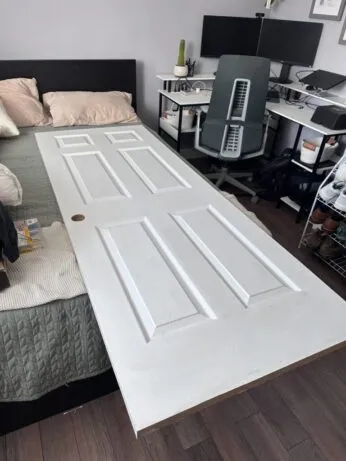
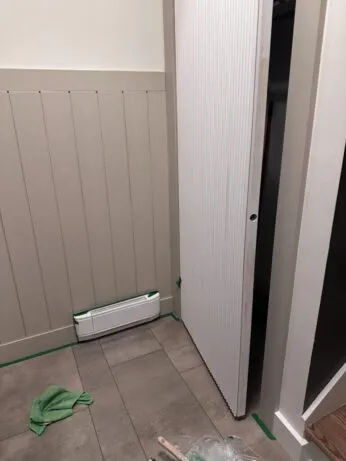
step 1: prep and plan
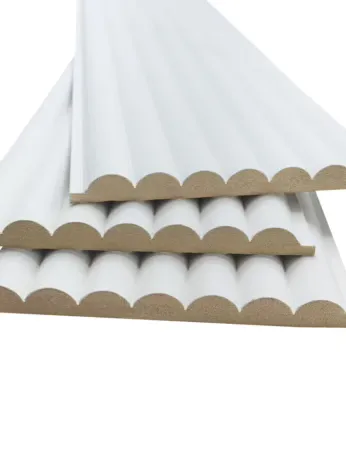
I started by measuring the width of my door which was 29.5". I measured the width of the reed molding which is 5. 5/16" wide. From here I determined how many pieces of molding I needed which was 6.
I removed the door from the hinges. Since I wanted a modern pull handle instead of a knob, I filled in the original doorknob hole and latch hole with wood filler. After it dried, I sanded the surface flush for a seamless finish.
step 2: cut reed molding to size
Next, I measured the height of the door and cut each strip to length with my miter saw. Because the width of the door did not line up perfectly with all of the MDF boards I purchased I had to cut the length of one with my jigsaw. At first, I was worried I would not cut a perfectly straight line and it might look weird but that was not the case!
Once I carefully cut the straight line with my jigsaw, I then took my electric sander and sanded any curves or edges where I slightly went off the track. This hid any imperfections and I promise you can do this too!
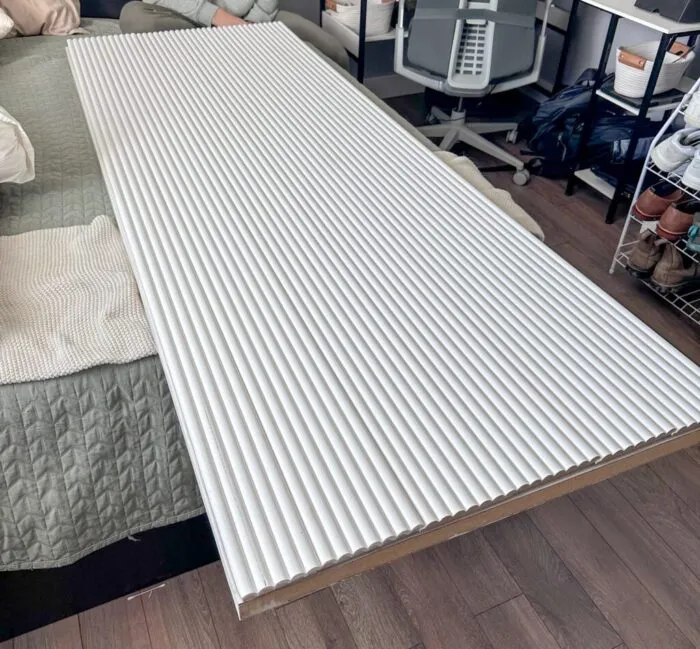
step 3: attach the mdf reed molding to the closet door
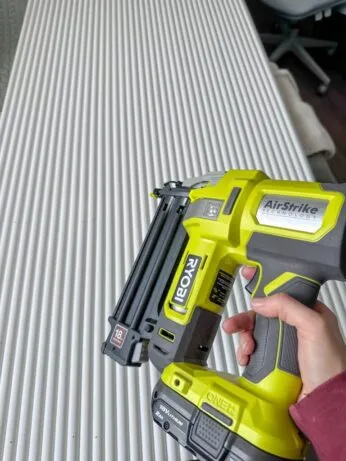
After a quick sand to smooth the edges, I used my nail gun to secure each reed molding strip vertically. I tried to ensure that they were lined up perfectly with the door.
I ran into a slight issue here, which was that my door was originally "cut down" to fit in the closet as it is not a typical door opening size. The previous owner that cut it, did not cut it perfectly straight. So my reed molding was flush on one end of the door and I had overhang on the other end.
To fix this, I used my electric sander and sanded the top of the door/reed molding until it was flush. This fixed my problem! Easy fix!
step 4: fill nail holes and sand
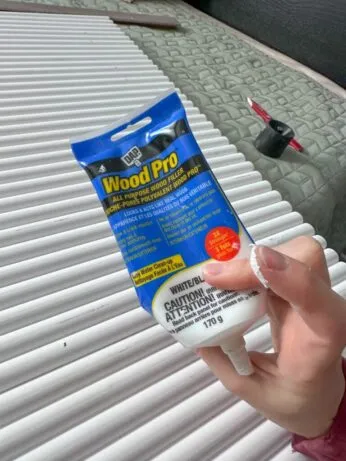
Once everything was attached, I filled the nail holes with wood filler.
Pro Tip: Once you fill a nail hole with wood filler, take a damp cloth and rub over it. This will remove excess filler on the surface which will signficantly reduce your sanding once dry!
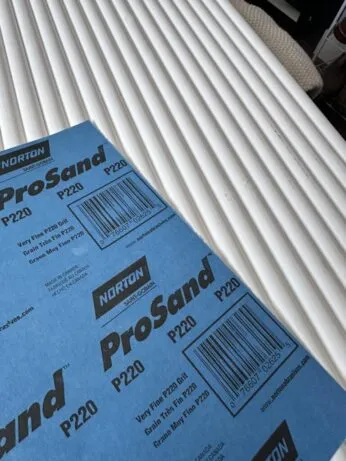
Then, sand the door to make sure the surface is smooth and ready for paint! The best way to know if you sanded enough is to run your hand over the sanded area and see if you can feel anything. If you can, you need to sand more.
You can caulk around the edges but I did not feel this was necessary and skipped this part!
step 5: paint and hardware
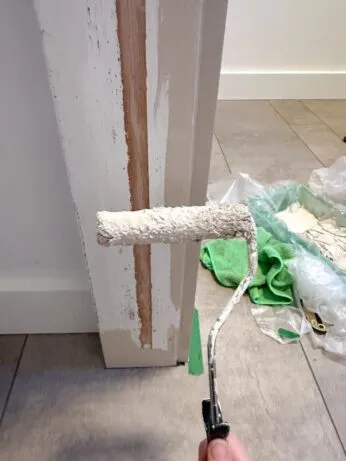
I hung the door back up to paint as I didn't have a proper set up to have it laid out. A few coats of paint later, and the vision was finally coming together! I had to use a paint brush in order to get into the grooves.
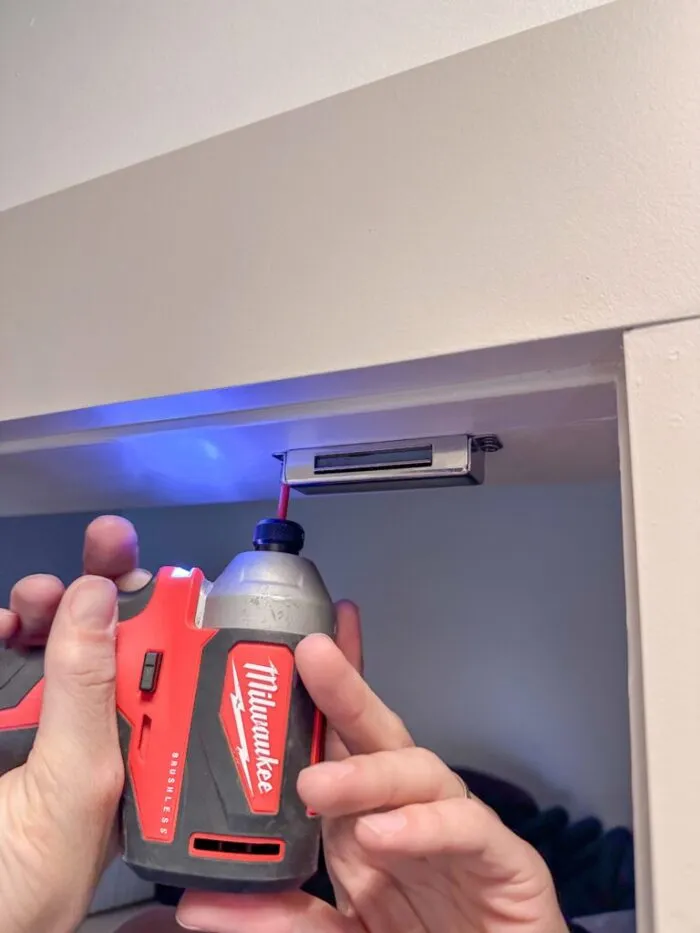
I installed a sleek pull handle to match the modern look. The final result? A completely updated reed molding door that feels designer and fits perfectly with the rest of our space. and I installed a magnet so that the door will stay closed!

want to reface diy closet doors another way?
While I used MDF reed molding, there are a few other ways to get a similar fluted closet door look, depending on your budget and tools:
- wooden dowels - These give you more depth and texture, and you can create a framed edge around the door for a built-in look.
- Pole wrap - A flexible material often used on columns, this also creates a fluted effect and can be trimmed to size.
For me, the MDF reed molding was the most cost-effective way and it also felt quick and easy!
works for standard and bifold closet doors
While I updated a standard door, this DIY fluted closet door makeover also works beautifully on bifold doors. Just make sure your door surface is flat and smooth before starting, and adapt the steps to account for the folding sections.
final thoughts on my diy closet doors makeover
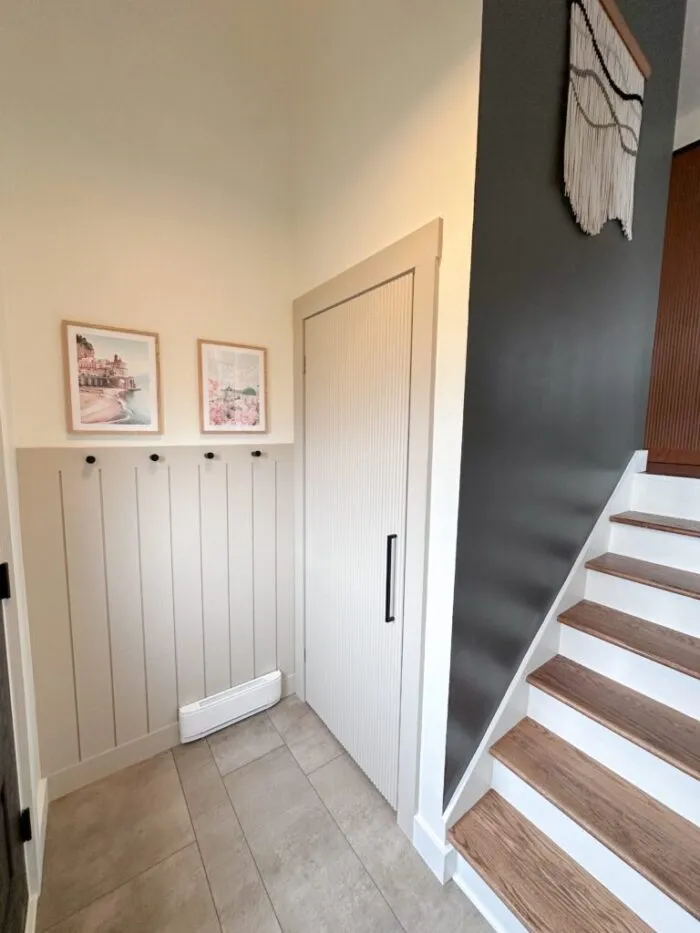
This simple project was a game-changer in our entryway. It’s proof that you don’t need to replace your closet doors to get a modern, custom look. With a little reed molding, paint, and creativity, you can reface closet doors and totally transform your space.
Whether you’re doing a full DIY closet makeover or just want to update one door at a time, I hope this inspires you to try something new. Let me know if you give it a go—I’d love to see your version of a fluted closet door!
loved this project? let's stay connected
If you found this tutorial helpful, don’t forget to pin it to your favorite home DIY board on Pinterest so you can come back to it later.
Check out my post for more inspiration on this project: YOUR GUIDE TO A MODERN SHIPLAP ENTRYWAY: SMALL SPACE, BIG IMPACT
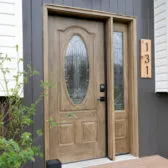
I also gave my front door a makeover: PAINT THAT LOOKS LIKE WOOD - FAUX WOOD PAINTING TECHNIQUE
Or, you might like my post on this Bedroom Makeover!
Want more inspiration?
Sign up for my newsletter to get more budget-friendly home ideas, tutorials, and product recommendations sent right to your inbox. Plus, you'll be the first to know about my latest DIY projects!