Fall is one of my favorite seasons for decorating, and I love finding budget-friendly ways to bring in cozy textures. Today, I’m sharing how I transformed a few old dollar store pumpkins into DIY yarn pumpkins. This project is quick, affordable, and the perfect addition to your fall home decor.
I’ve always held on to bits of neutral yarn from my macrame days, and this was the perfect way to repurpose them. Whether you want a soft, chunky look or a more textured vibe, this fall craft DIY is such a fun way to create custom decor for your shelves, tables, or entryway.
watch on youtube
Materials You’ll Need
- Foam or styrofoam pumpkins (I reused old dollar store ones)
- A variety of yarn (chunky, textured, or smooth—neutrals work beautifully)
- Knife or craft tool to cut a hole in the pumpkin
- Hot glue gun
- Stems for the pumpkins (you can use dried floral stems, real branches, or craft wood stems)
- Scissors
- Craft needle (optional)
Step 1: Prep Your Pumpkins
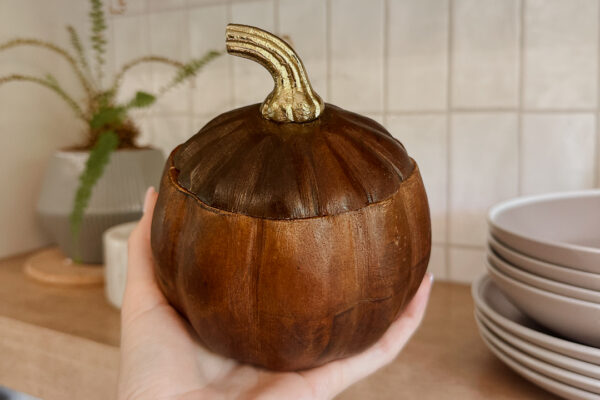
I started with lightweight styrofoam pumpkins that I had painted years ago in white and beige. To prep them, I cut a hole through the center using a knife. You want the hole to be wide enough for yarn to pass through multiple times without snagging.
Step 2: Wrap With Yarn
Choose your yarn and begin wrapping it through the center of the pumpkin, feeding it from top to bottom. I experimented with different types of yarn:
- Chunky yarn pumpkins were by far the easiest since they covered the foam quickly.
- Thinner yarns took longer, so to speed up the process, I cut longer strips of yarn and pulled them through instead of threading each loop with a needle.
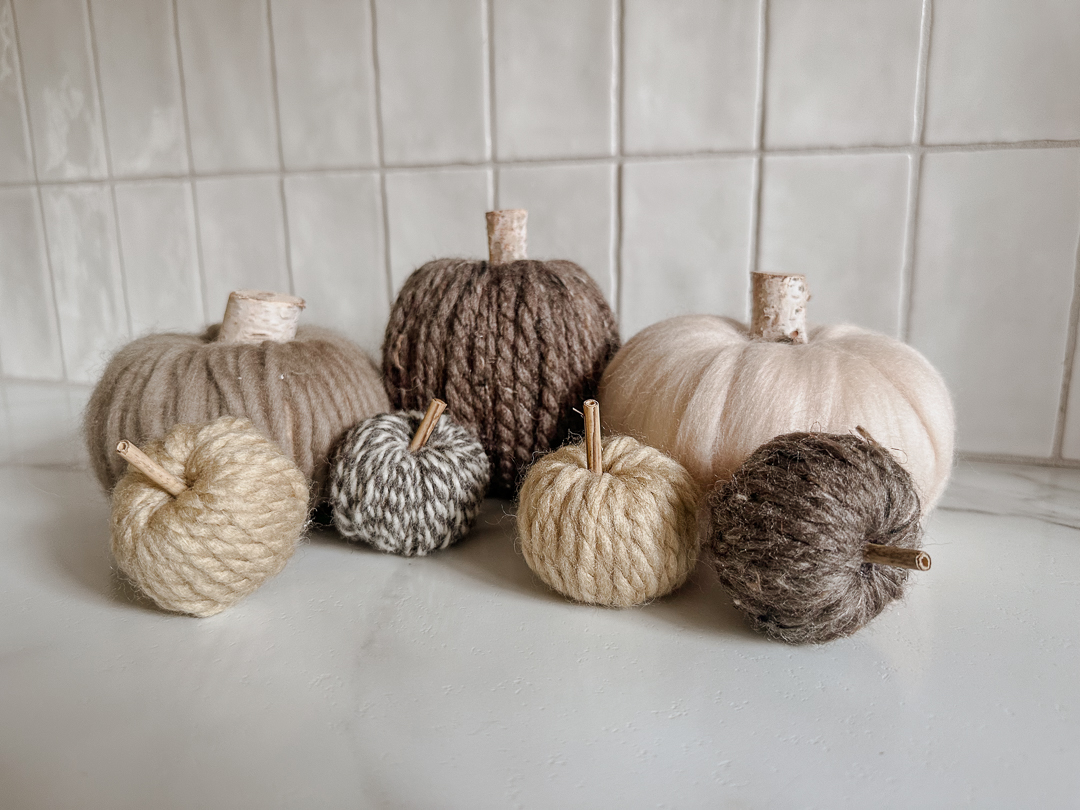
Mixing textures—like merino wool, thick wool, and soft cotton—gave each pumpkin its own personality while still keeping a neutral palette.
Step 3: Add the Stems
For the stems, I used a mix of dried floral stems and small wood craft stems I had from the dollar store. If you don’t have those on hand, real branches from outside work perfectly. Simply cut them to size and use a hot glue gun to secure them in place.
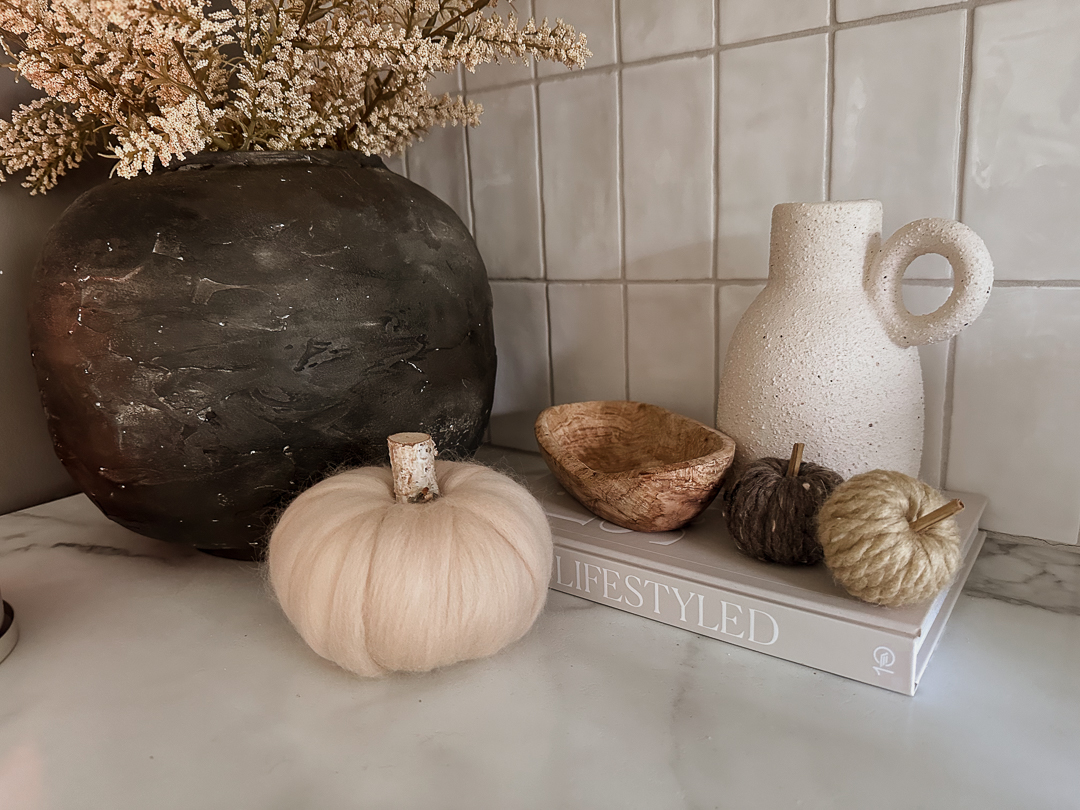
Step 4: Style Your Yarn Pumpkins
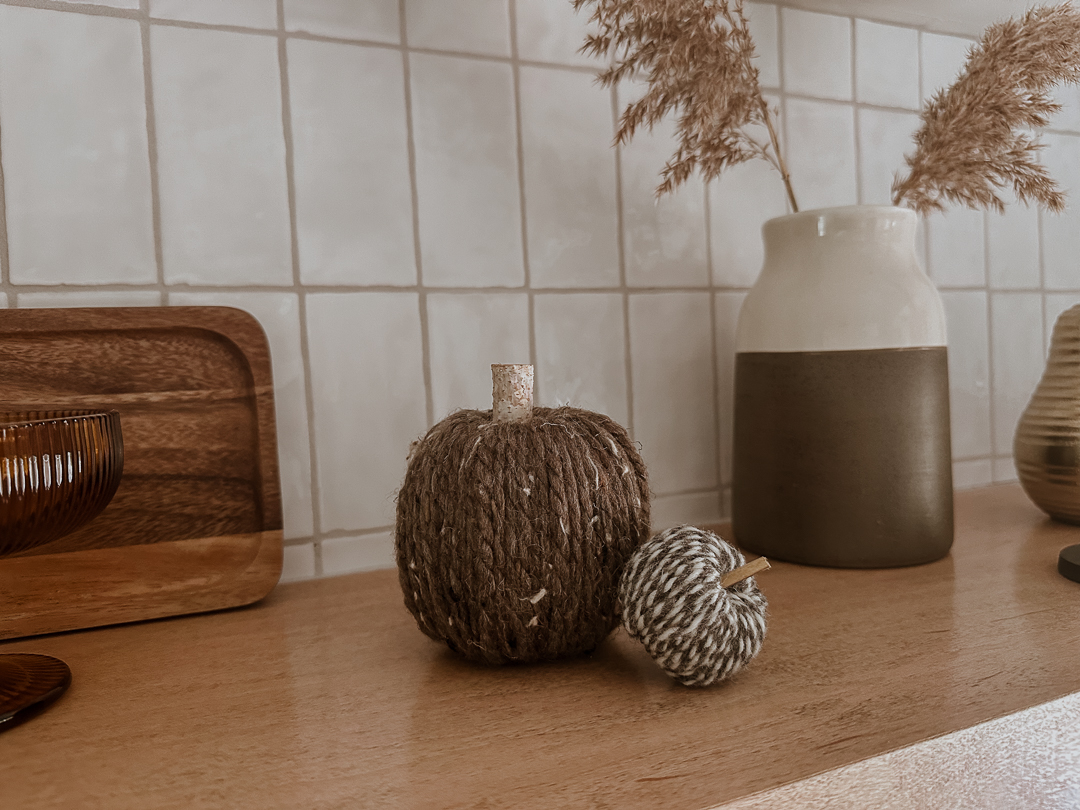
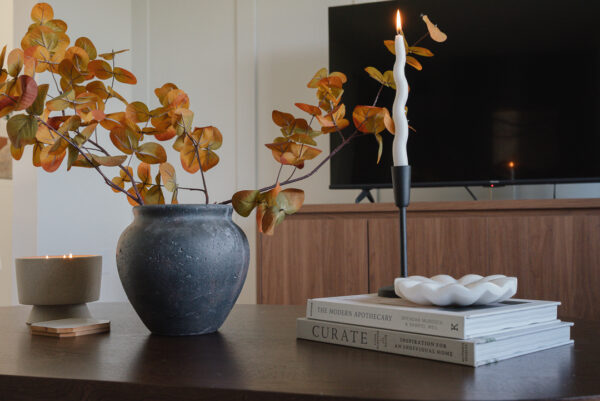
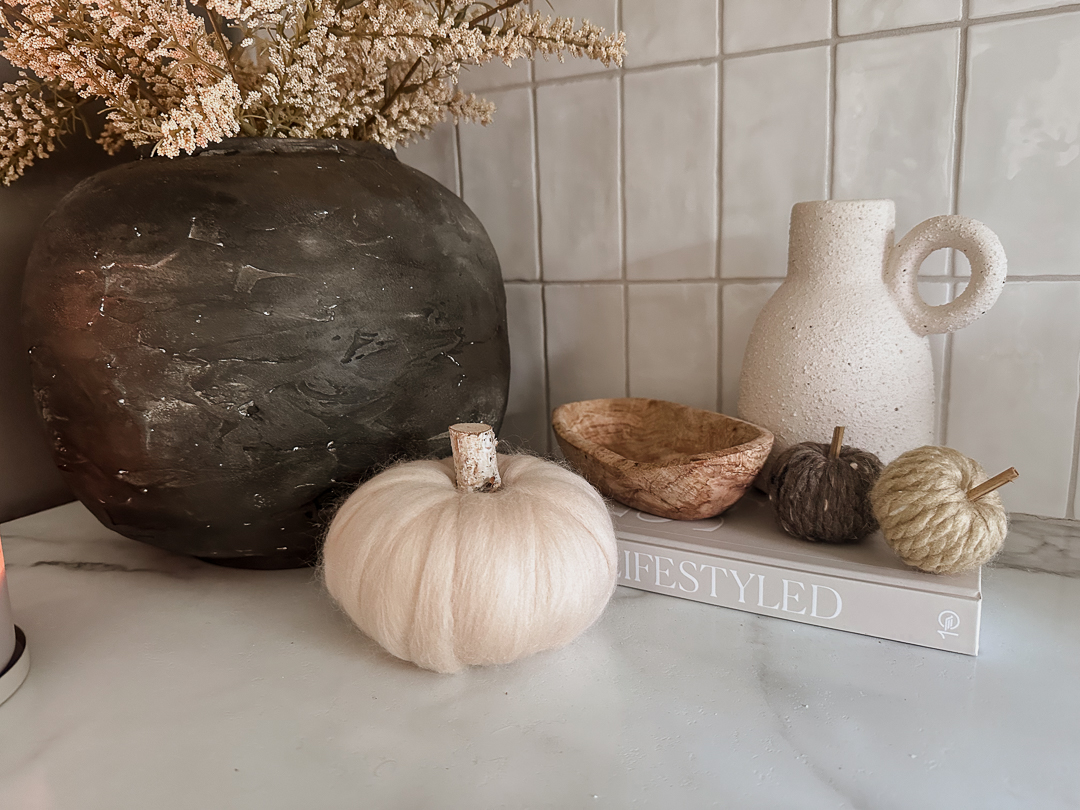
Once all of the pumpkins were wrapped and finished, I placed them around my home—on shelves, coffee tables, and tucked into vignettes with candles and greenery. They instantly add that cozy, festive fall vibe without feeling over the top.
Final Look
And here’s how they turned out! I love how soft and textured these yarn wrapped pumpkins look compared to store-bought decor. This simple DIY proves that you don’t need to spend a lot to bring warmth and personality into your seasonal decorating.
If you’re looking for easy fall craft ideas, this one is budget-friendly, beginner-friendly, and can be customized to match your home’s color palette.
You might also like STYLE MY HOME WITH ME: FALL DECORATING IDEAS YOU'LL LOVE THIS SEASON
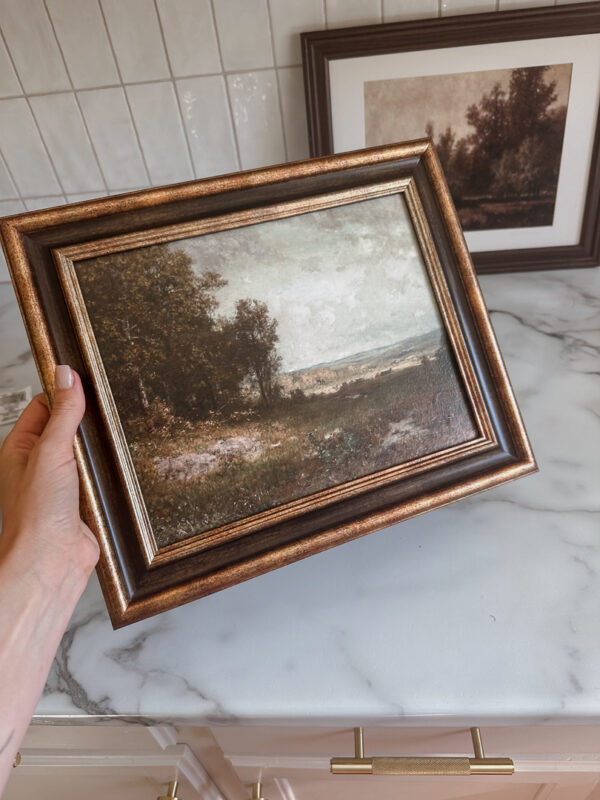
DIY VINTAGE LANDSCAPE ARTWORK: AFFORDABLE THRIFTED FRAMES AND ETSY PRINTS
loved this project? let's stay connected
If you found this DIY guide helpful, don’t forget to save it for later by pinning it to your favorite Pinterest board! It’s the easiest way to come back when you’re ready to tackle this project.

want more inspiration?
Sign up for my newsletter and get exclusive step-by-step guides, budget-friendly home ideas, and my favorite product recommendations delivered straight to your inbox. Plus, you’ll be the first to know about new DIY projects!
Let me know how your yarn pumpkins turn out—I’d love to see your creations!